After developing an allergy to gel nail polish, I’ve been looking for gel-nail alternatives ever since. But I’ve not yet had much success . I’ve tried long-lasting polish and top coats, but truthfully? I always smudge my nail polish and it never lasts me longer than a couple of days before it starts chipping. Nothing ever really filled the void of a long lasting, chip-free manicure like gels did.
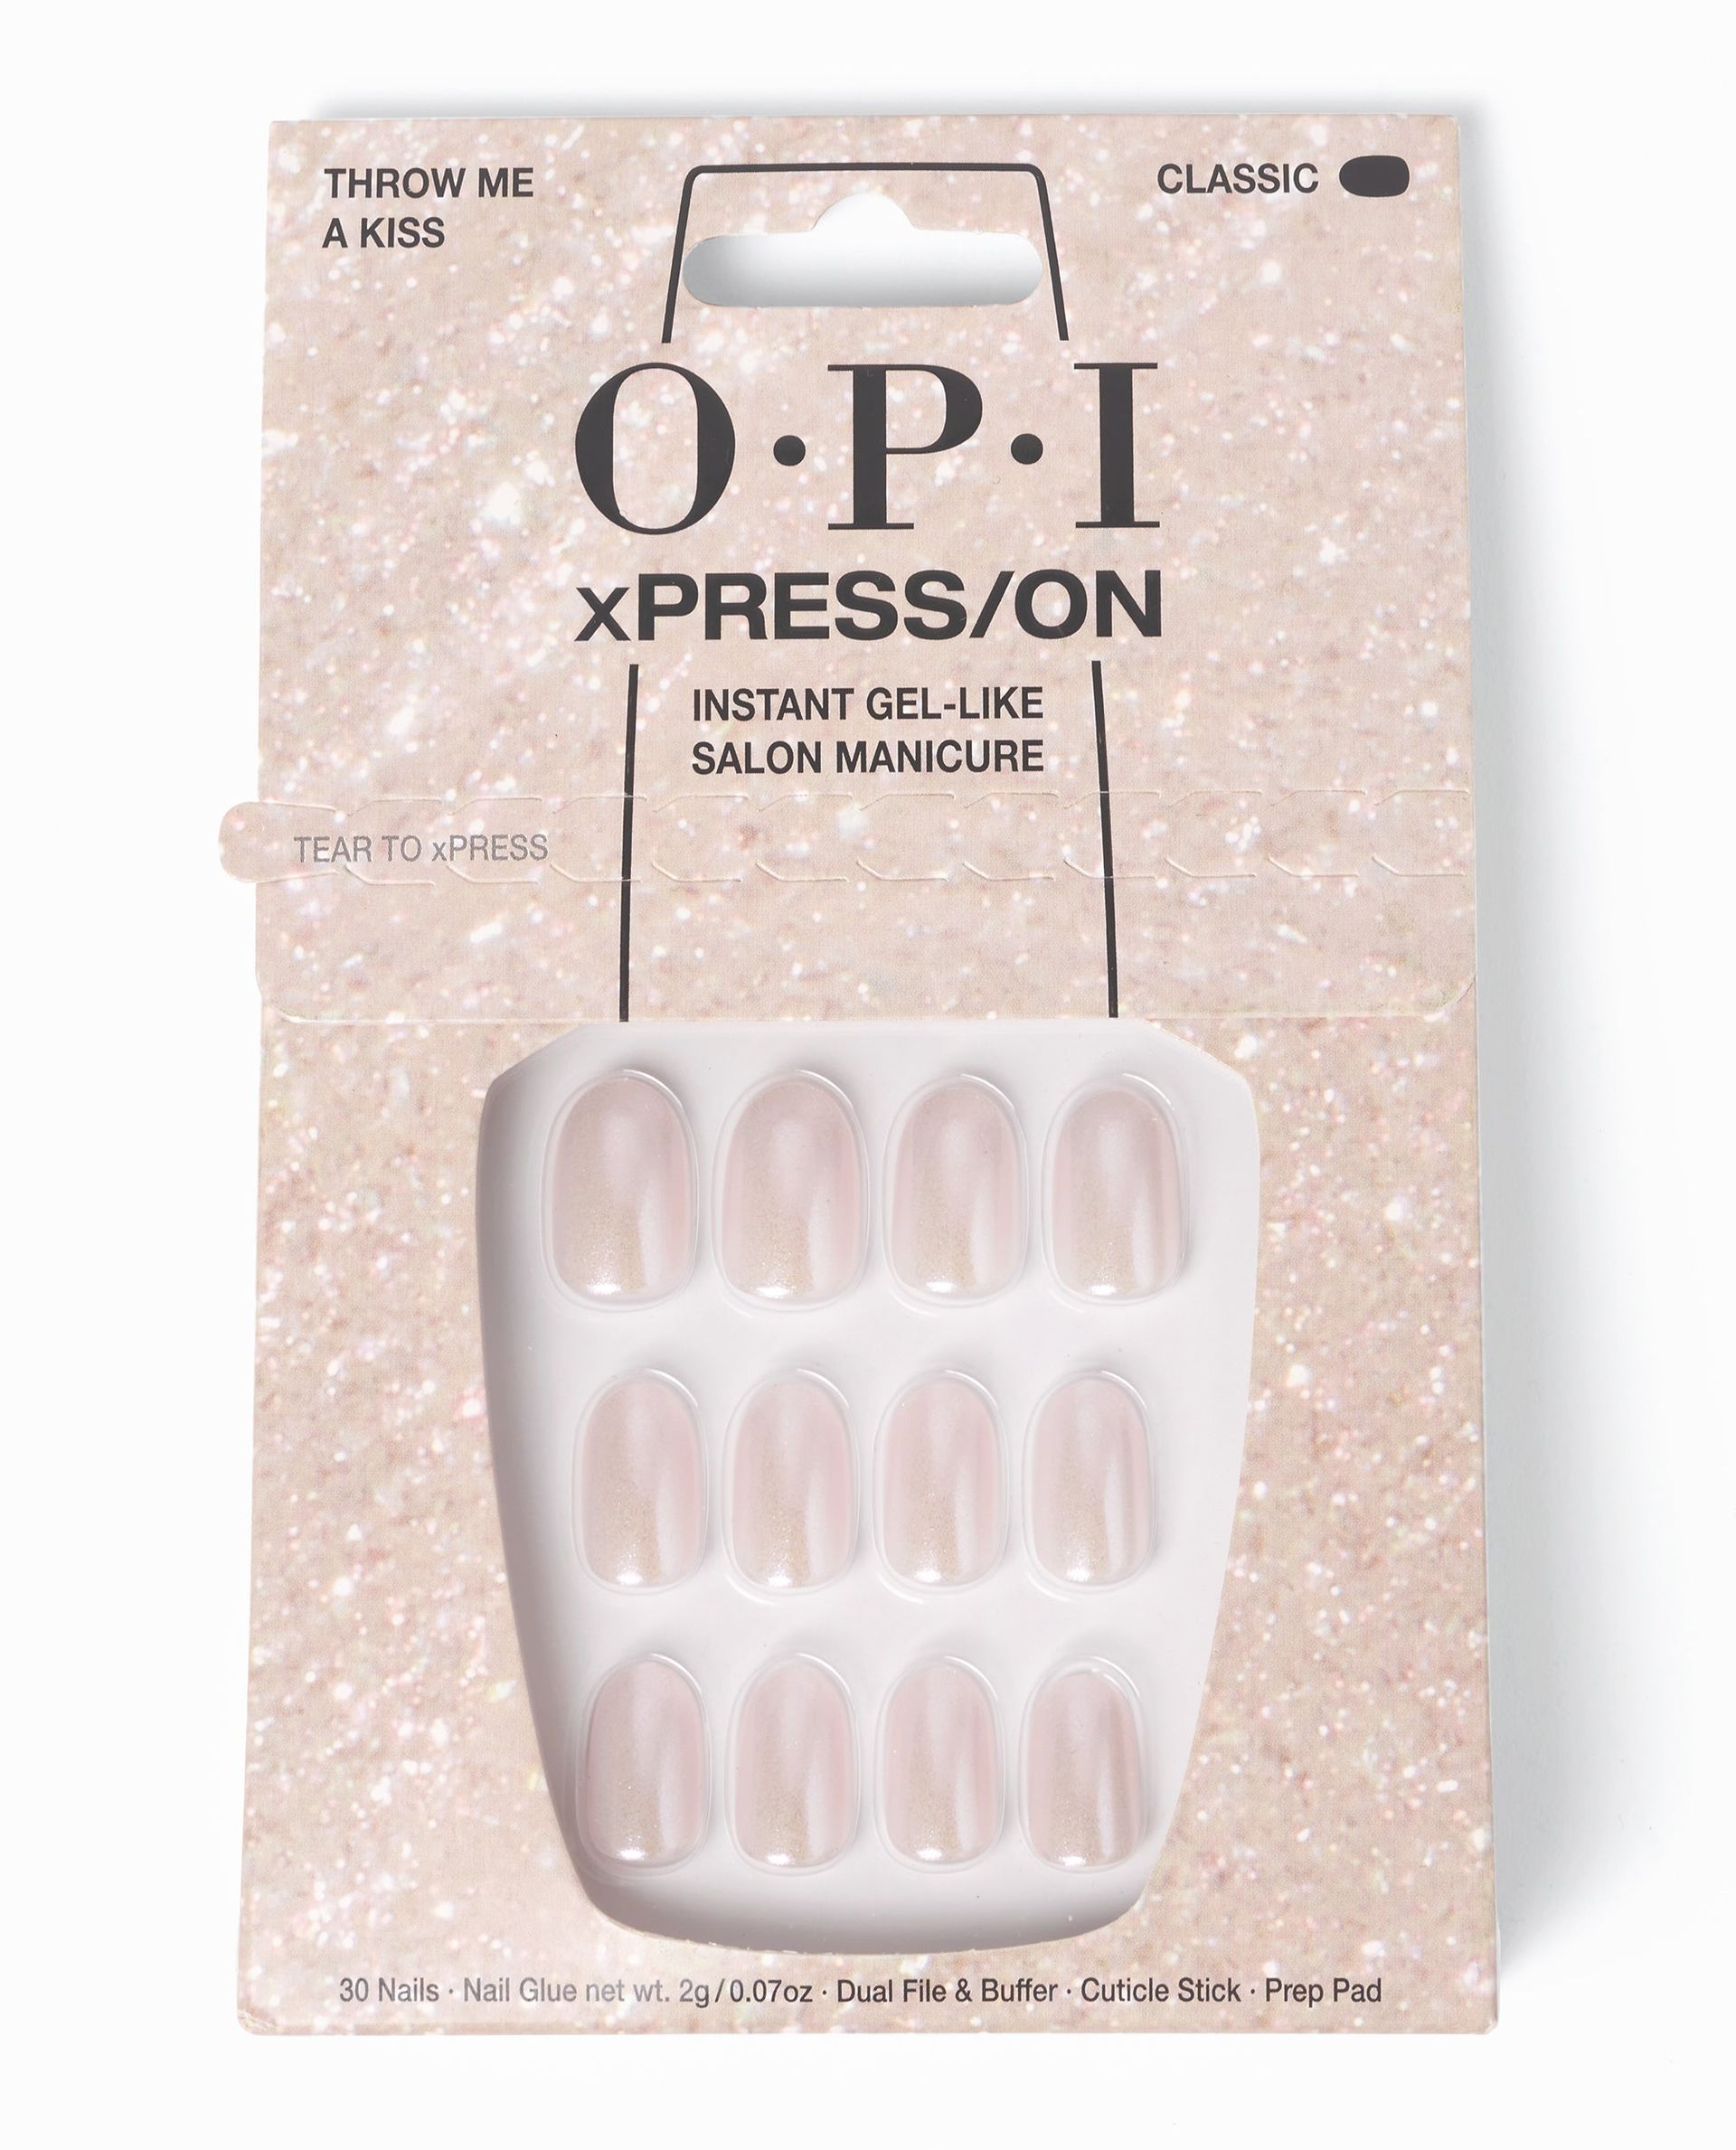
In a bid to explore other options, I recently bought a set of OPI’s new X/PressOn Press On Nails in the shade Throw Me A Kiss (£16), and since wearing them I’ve lost count of the number of compliments I’ve received. “Are those gels?” my friend said as we sat down for brunch. “Are those chrome gels?” said a colleague in the office. I delight in telling them that they’re actually press on nails, and unlike others I’ve tried, these actually last—almost two weeks, in fact.
OPI X/PressOn Nails Review

OPI
X/PressOn Press On Nails in Throw Me a Kiss
What Comes In the OPI X/PressOn Nails Kit?
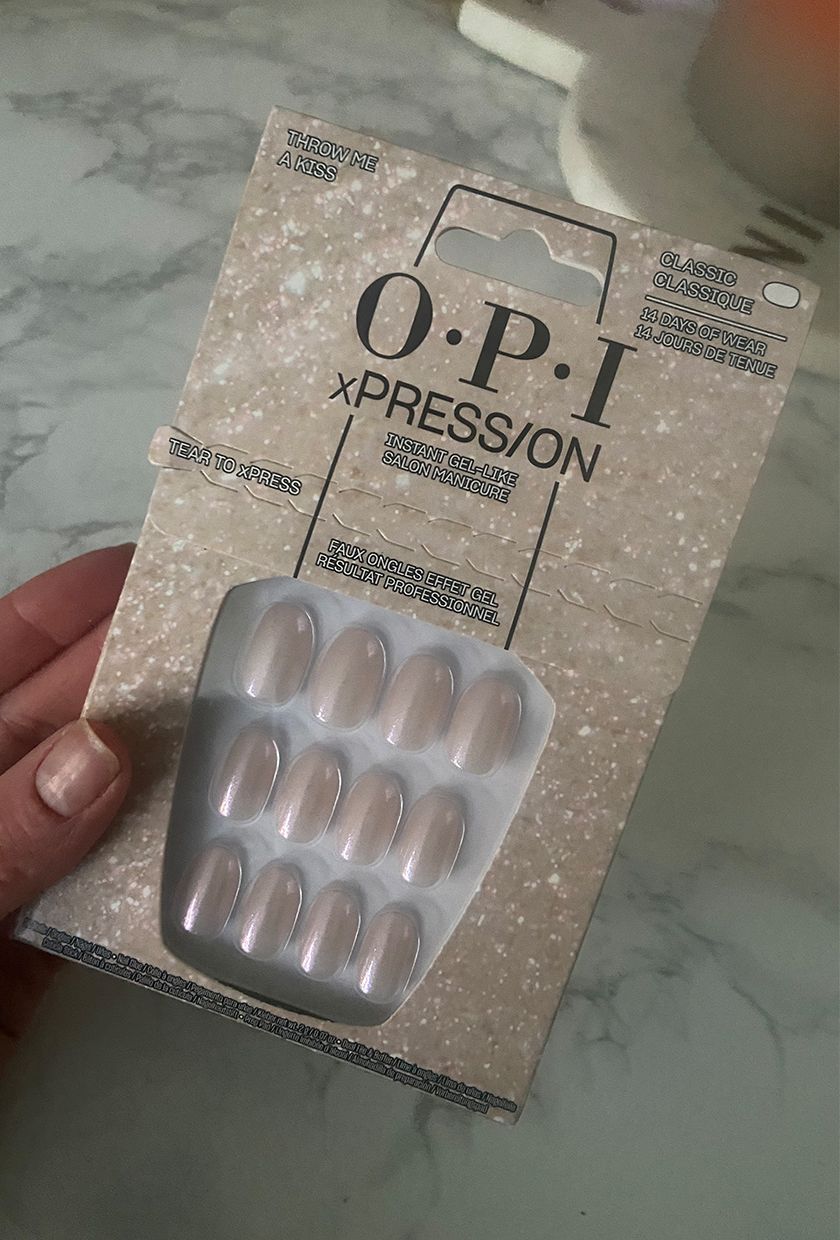
Inside the kit you get:
– 30 individual nails in varying sizes for an accurate fit to your nail shape
– A nail buffer to shape and prepare your nails
– OPI prep pad
– Cuticle stick to push back cuticles
– Nail glue to secure your press ons
– Nail guide to help you choose the nails for each finger
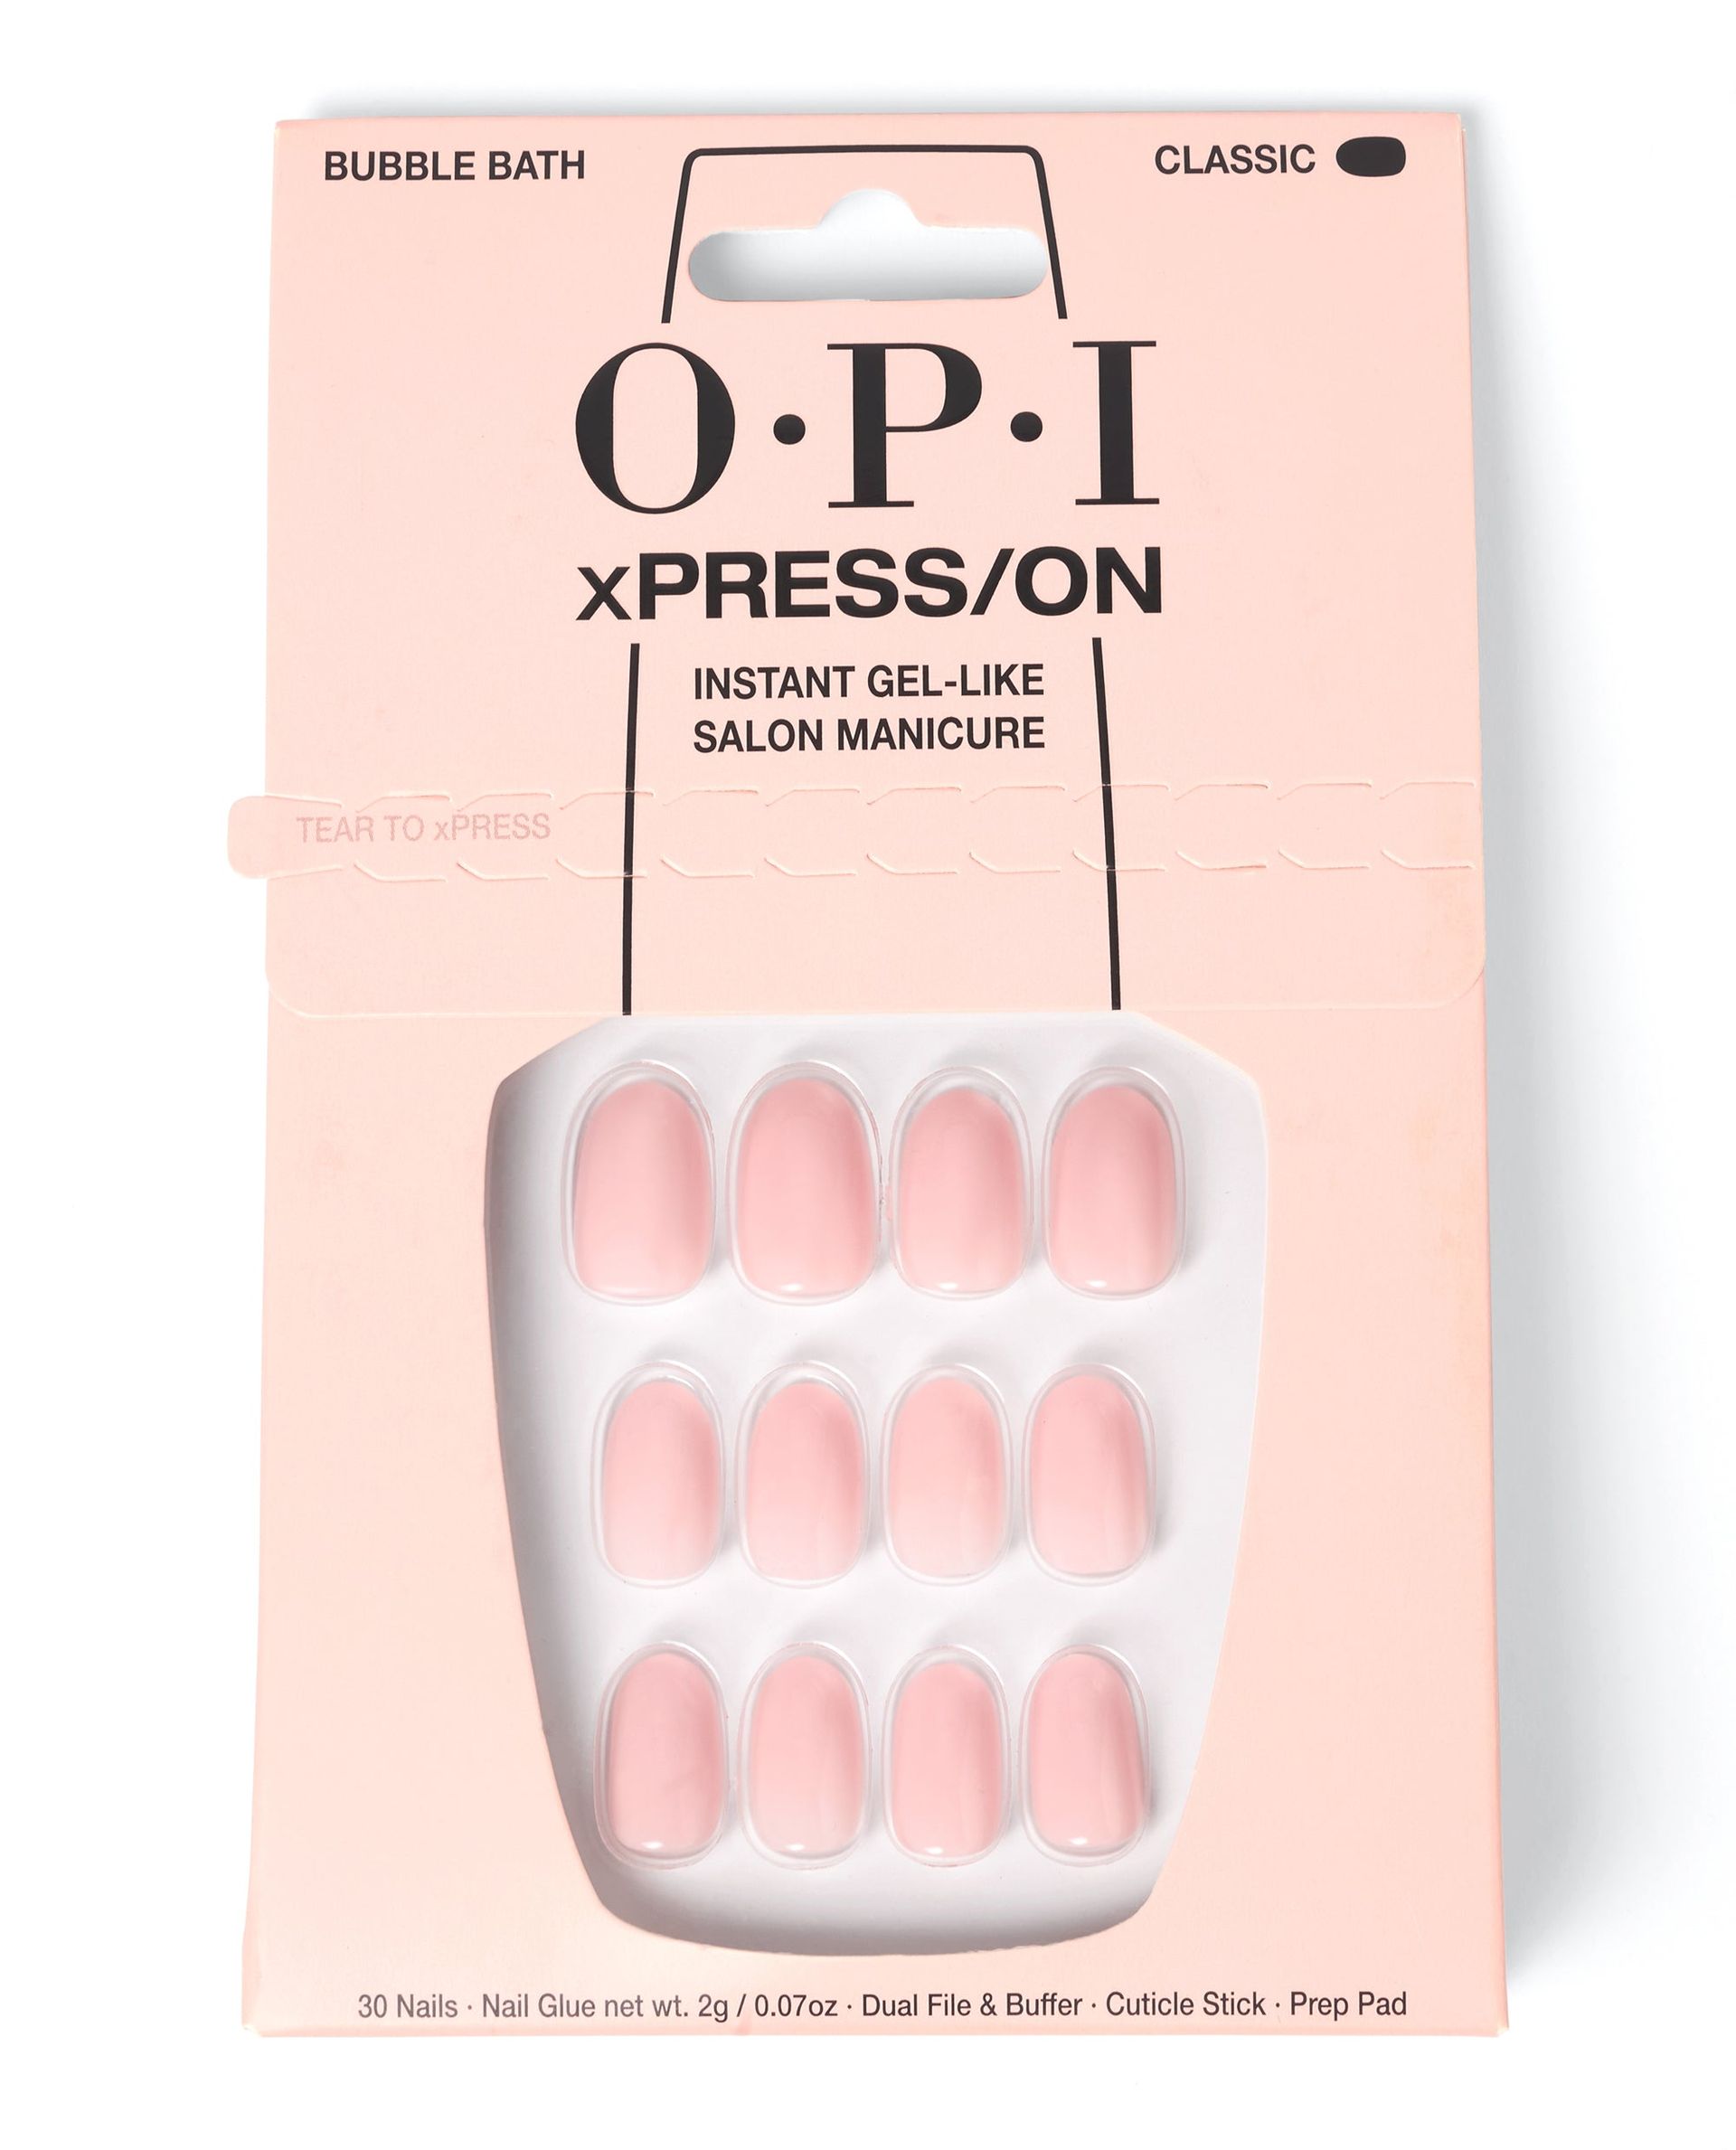
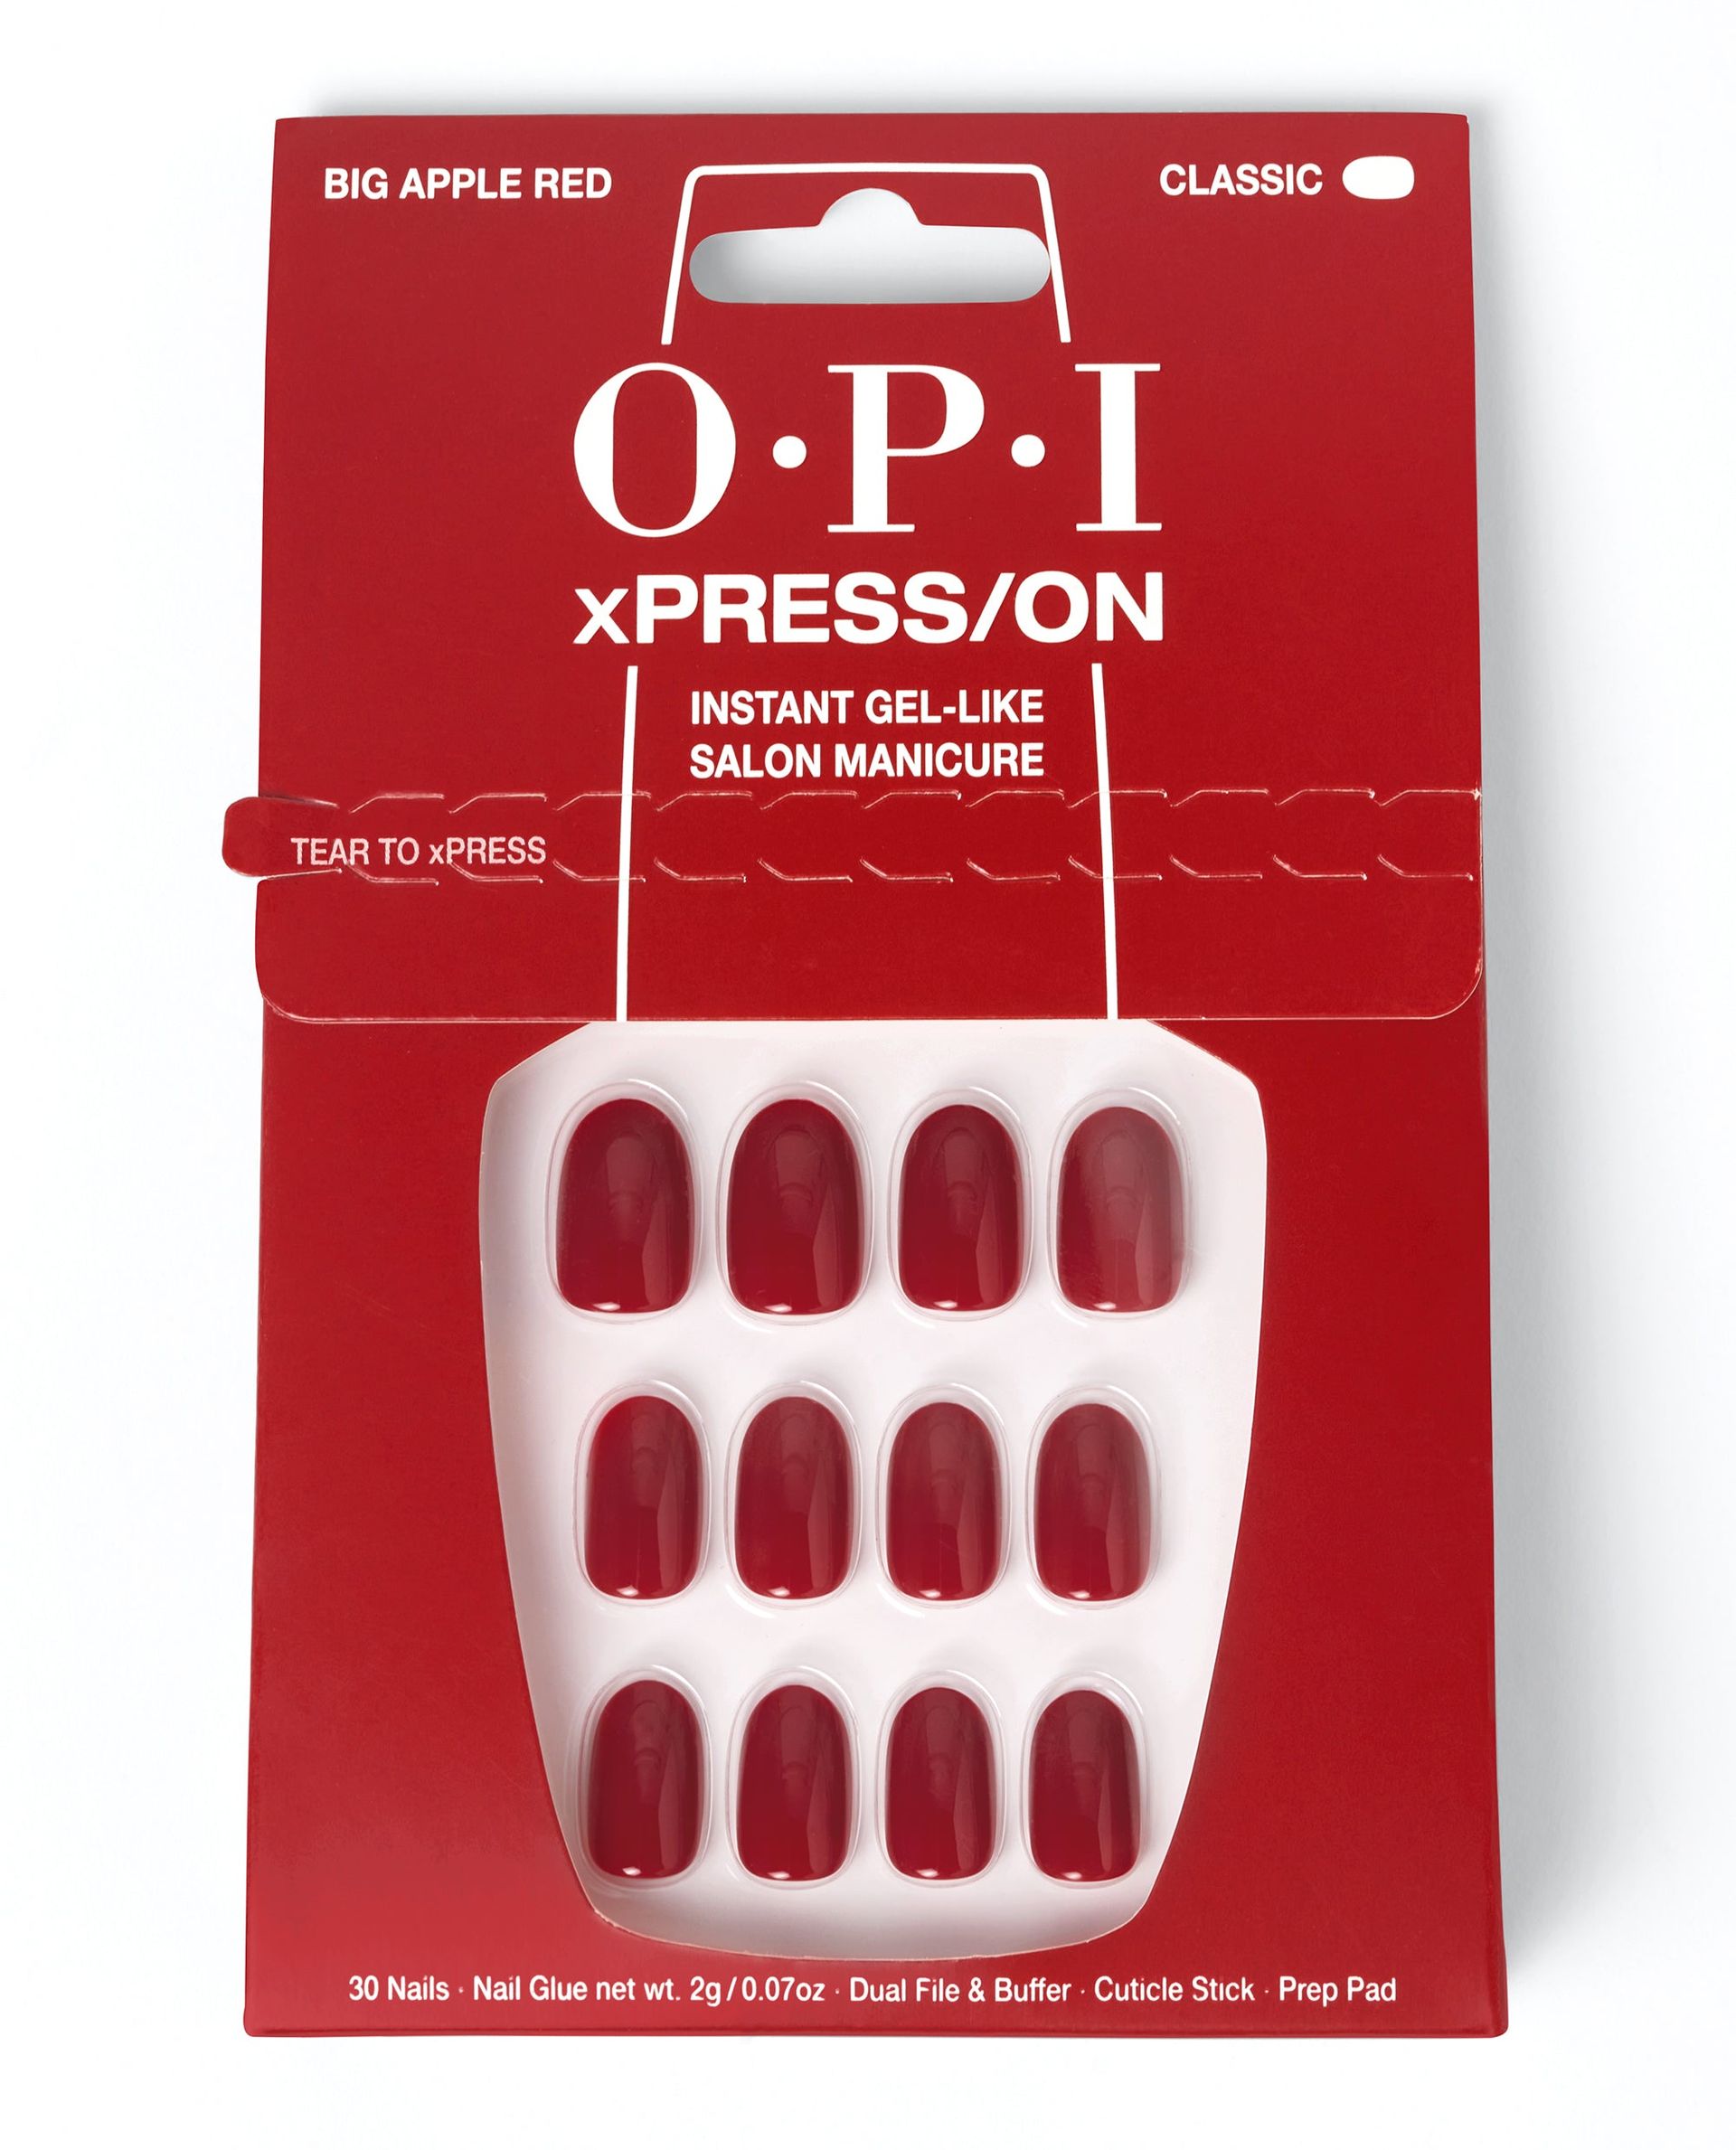
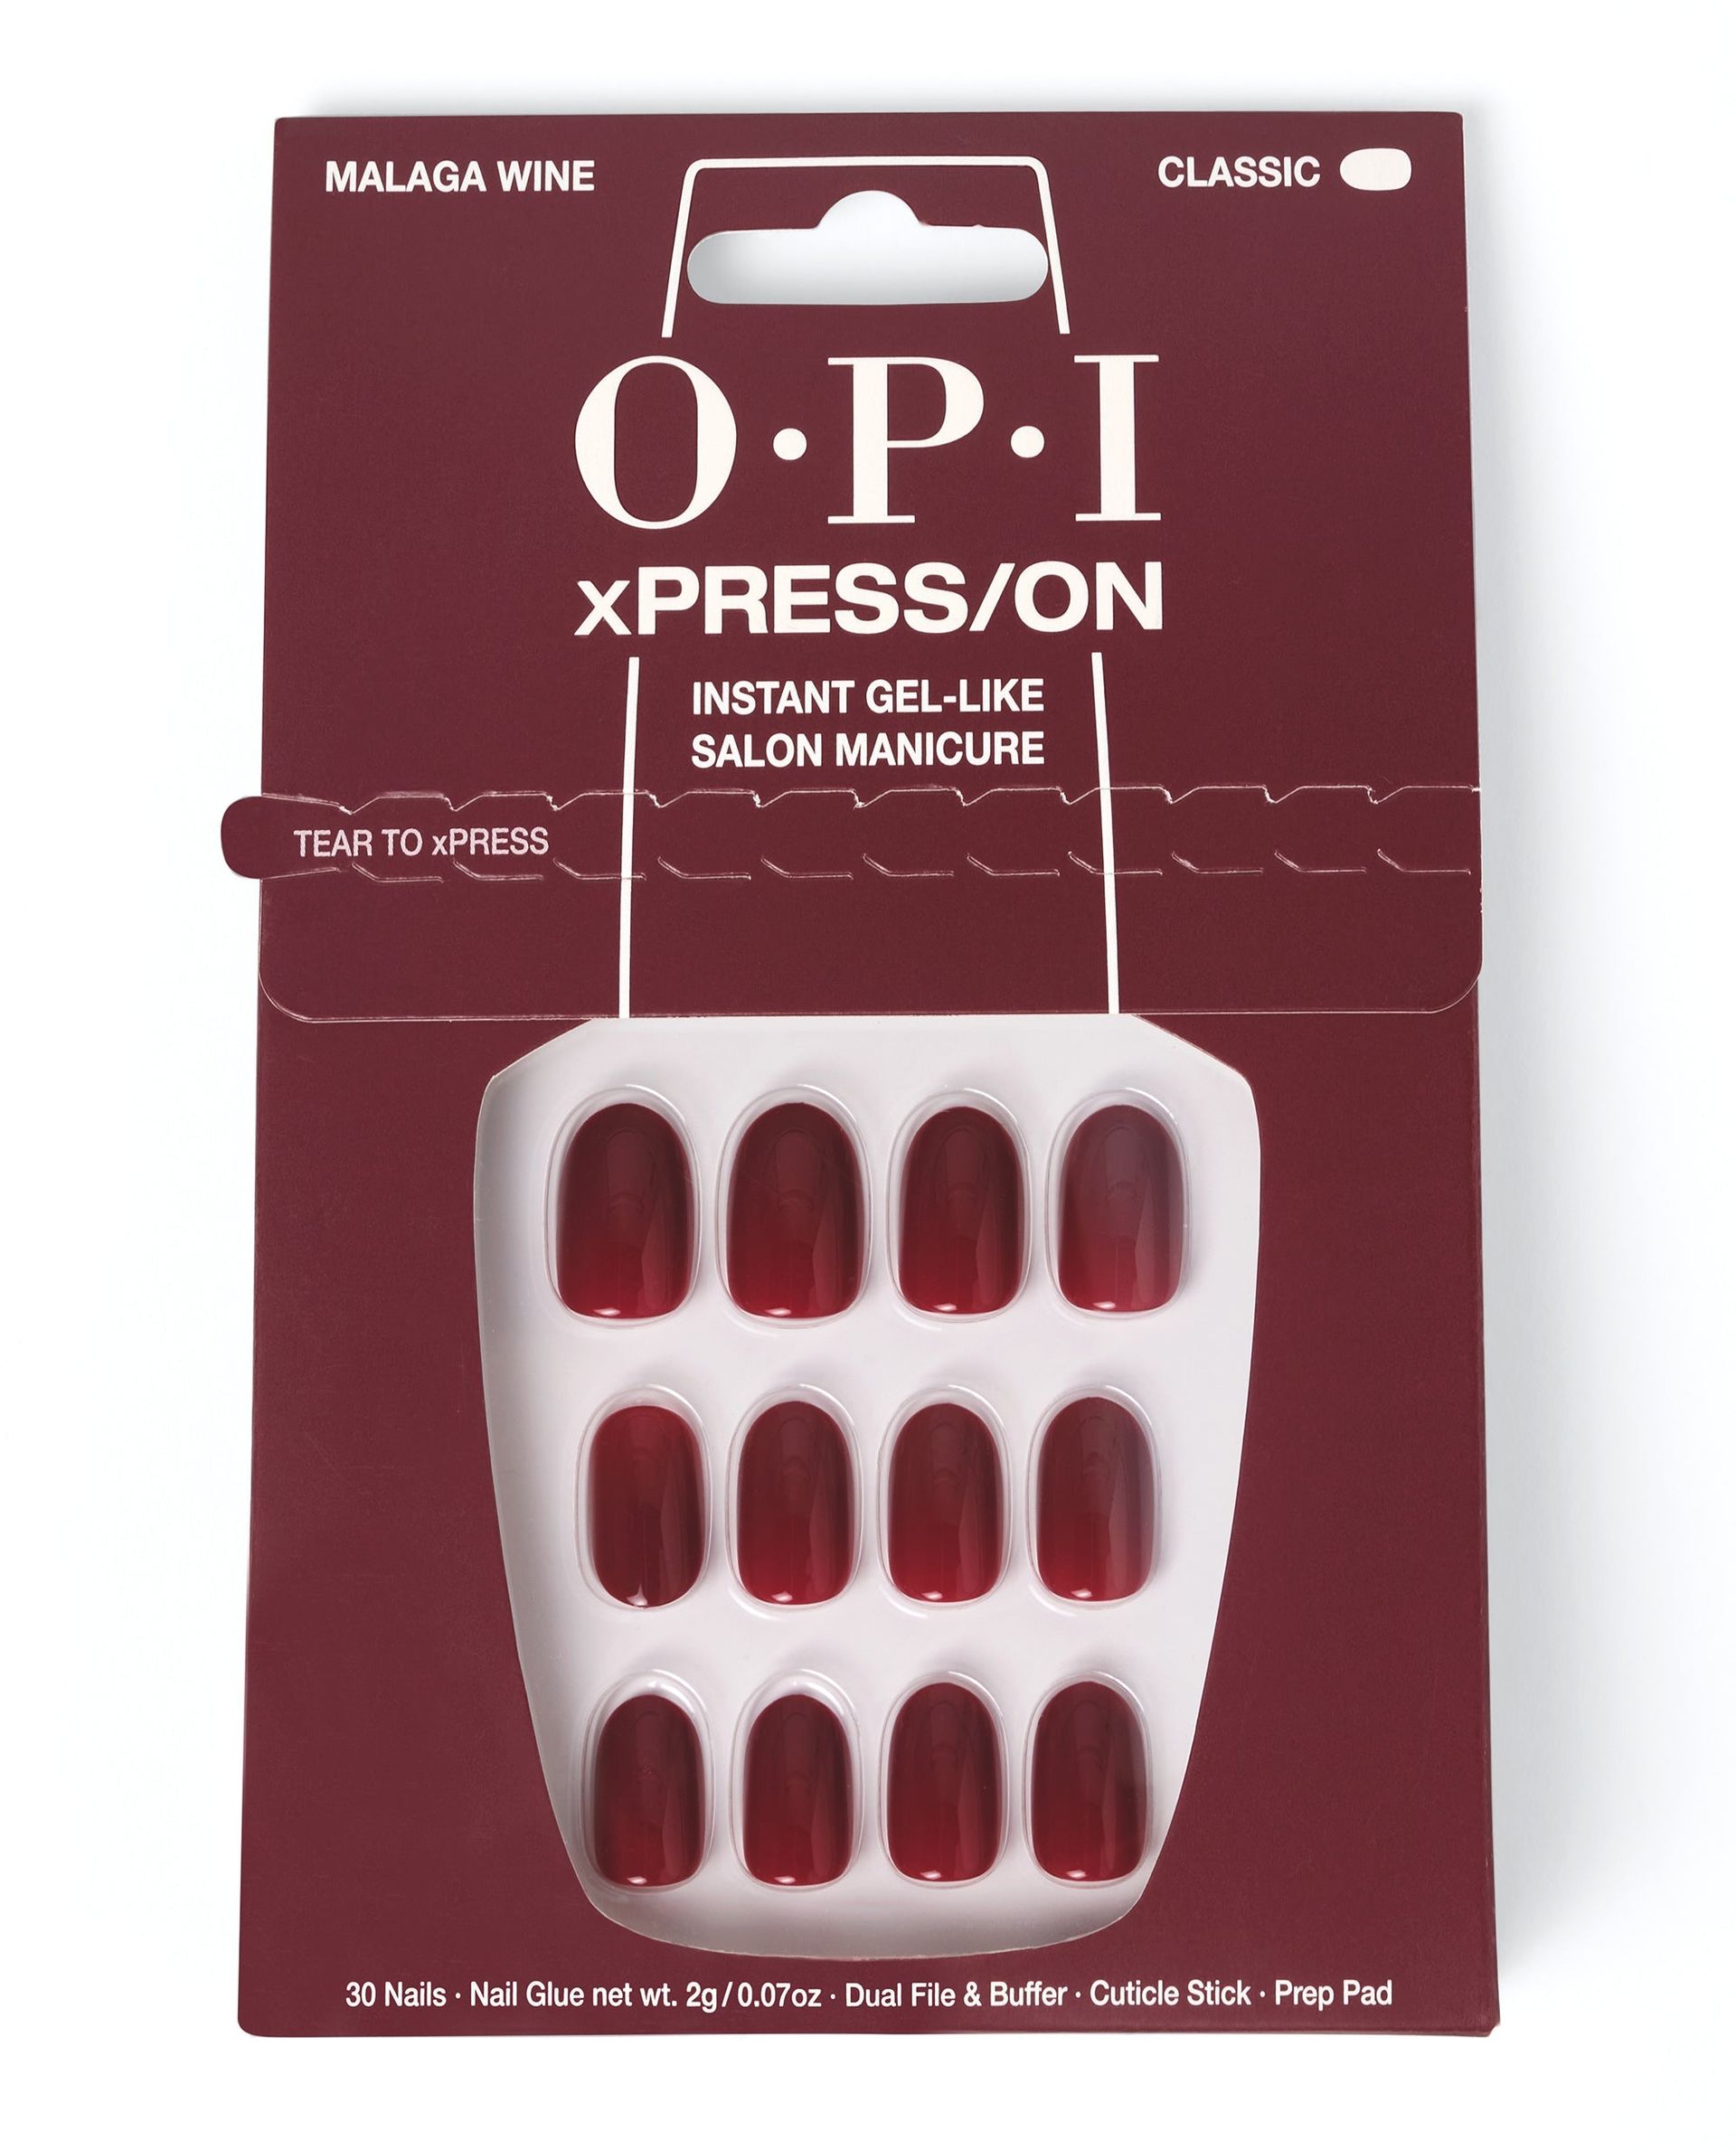
I tried the shade “Throw Me A Kiss”, which is soft pink pearlescent shade that resembles chrome powder for a glazed look. There are a great handful of classic OPI shades to pick from, including the iconic Bubble Bath, Big Apple Red, and Malaga Wine. There are also different nail lengths and shapes to choose from, and you can choose from classic colours, nail art or tigereye effects. I opted for the classic short length with a rounded oval shape.
How to Apply OPI X/PressOn Nails
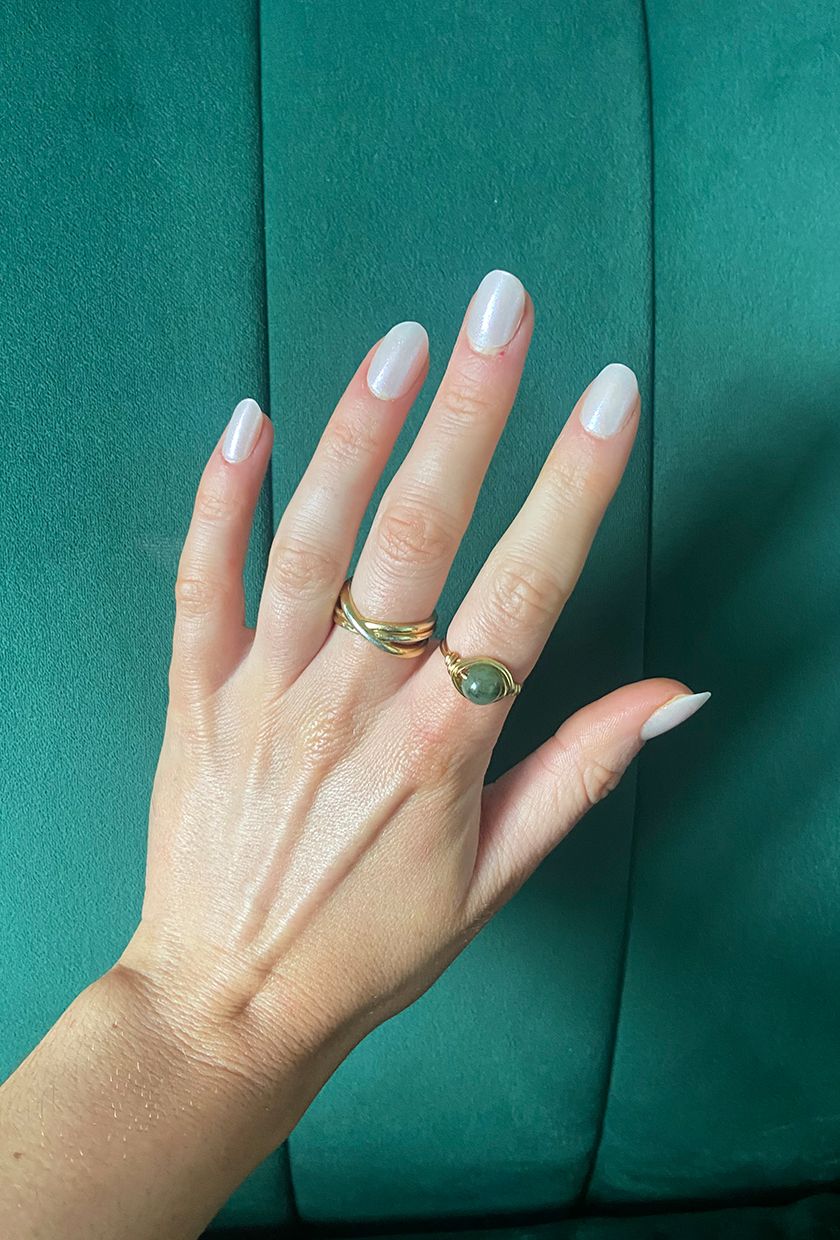
I’m not great at doing nails, but this kit makes it so easy that anyone can do it.
Step-by-step:
1. The first step is choosing the right size for each of your nails from the 30 supplied in the kit. You can then lay them out on the guide included so it’s easy to remember what nail fits your thumb, forefinger etc on each hand. If you’re between sizes, OPI recommends sizing down for a more snug fit, which will ensure they last longer.
2. At this stage, you have the option to file each nail into your desired length or shape. I personally preferred mine how they came, so I moved on to the next step.
3. Now you’ll want to ensure your nails are free of polish, and you might want to file your natural nails down if they are long to ensure your press ons fully cover your nail plates. Using the cuticle stick, push back your cuticles and then buff over your nails with the other side of the nail file, and finish by swiping over the prep pad to remove any dust and debris from your nails.
4. Now you’re ready to apply your nails, you have two options. For longer-lasting hold, OPI recommends applying the glue to both your nail plate and your press on nails. If you want them on for a shorter duration, you can just apply the glue to the nail which will make them easier to remove.
5. You then apply the press on to your nail, lining it up at the base of your cuticle and holding in place while applying firm pressure to the entire nail for seconds. My advice would be to apply less glue than you think you need, as it can seep out the edges as you hold down your press on into place, but this can be tidied up with the cuticle stick if needed. And you’re done!
6. When the time comes to remove them, you want to soak them in water for 10 minutes and apply a drop of acetone nail polish remover at the base of the nail before using the cuticle stick to lift the nails off.
Are OPI X/PressOn Nails Worth It?
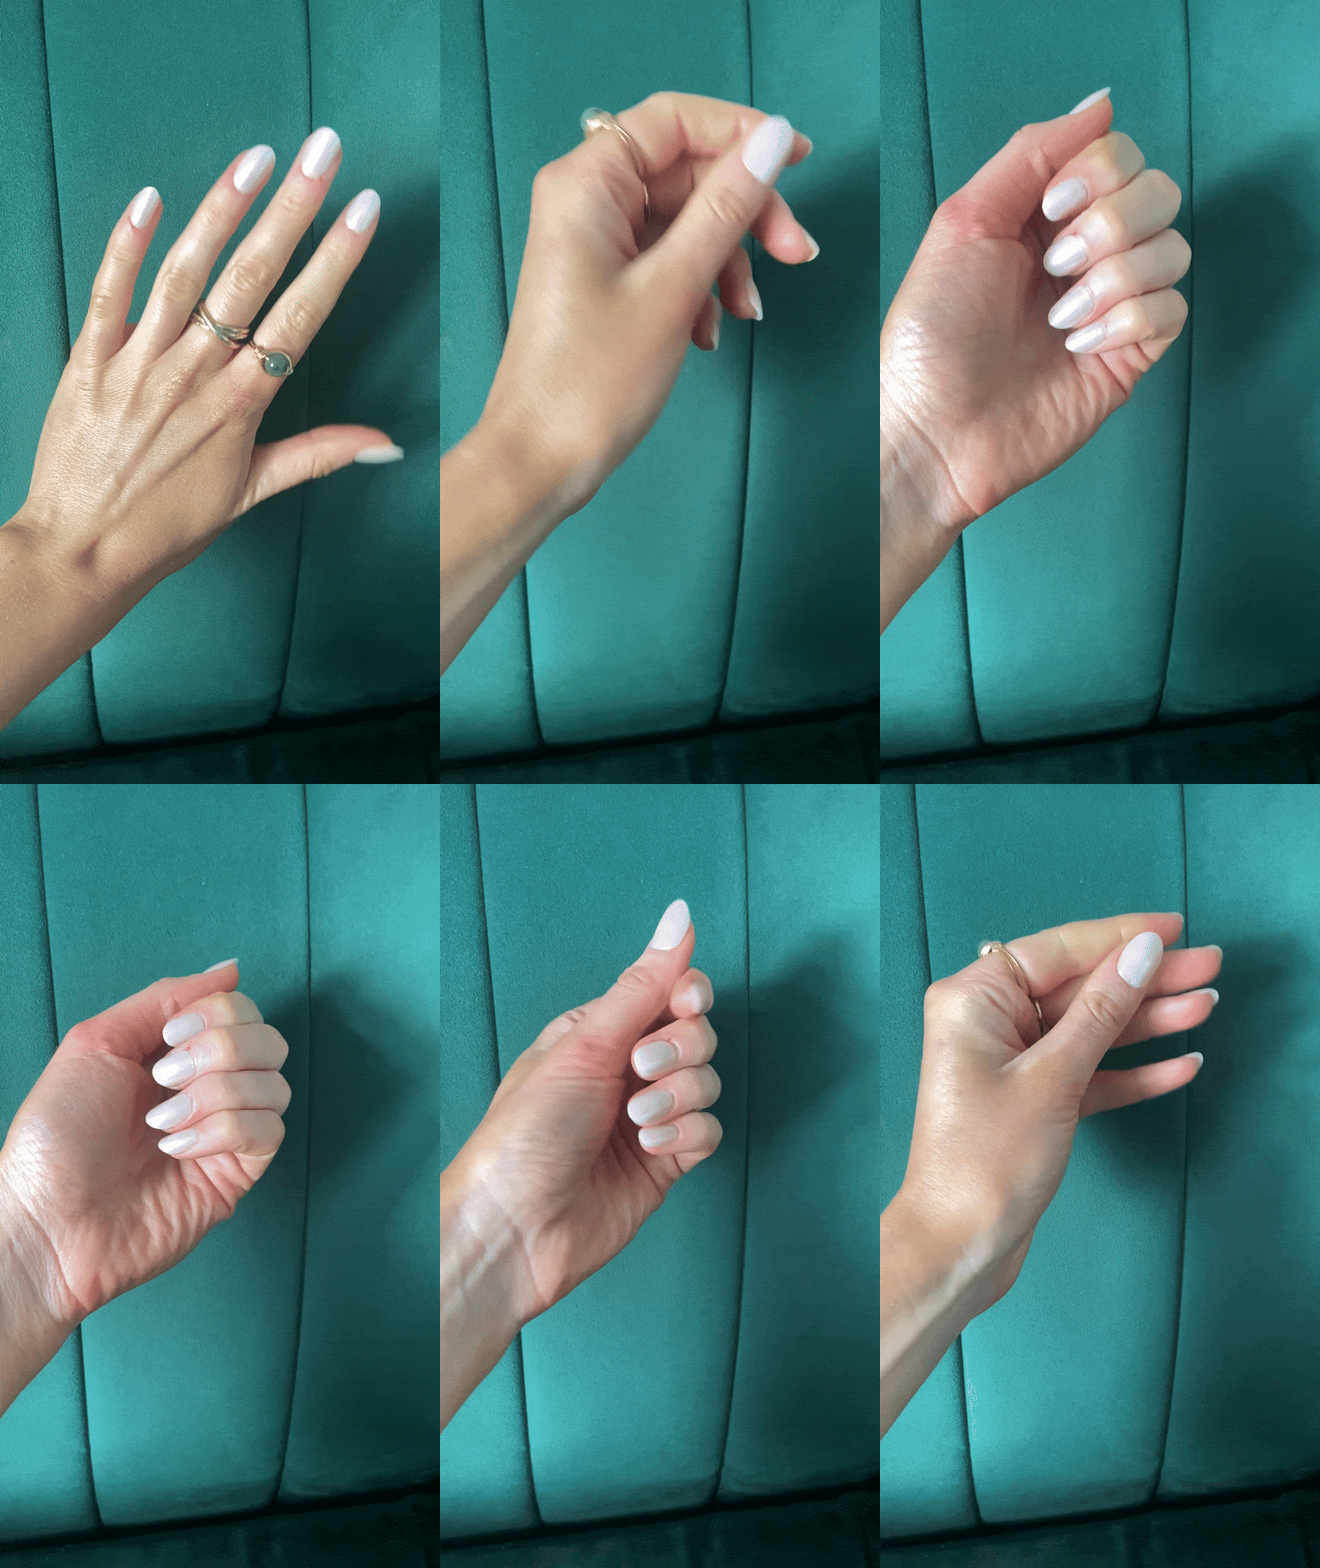
(Image credit: @eleanorvousden for Who What Wear UK)
Pros: Last for two weeks, great alternative to gel nails, range of classic colours, easy to apply, reusable, affordable, vegan, made of 94% post consumer recycled materials
Cons: May damage nails if you don’t remove them correctly, not as much range as available in the U.S.
The Verdict: Comparing the cost of a gel manicure versus these, OPI’s press on nails work out much for affordable at £16, and you can reuse them again and again, which makes cost per wear way more affordable than in-salon gels.
I found the sizes of the nails matched my nails really well for a secure fit. At around day 12, they started lifting around the edges slightly, but they did make it to the 14 day mark before one fell off and I decided it was time to take them off.
Like any nail enhancement, it’s important that you remove them correctly to avoid damaging your nails. I found that my nails stayed healthy underneath, and it actually gave them a chance to grow underneath while shielded by my press ons. My only wish is that the extensive range available in the U.S. makes it way over to the UK soon, as there are a lot more options to choose from.
All in all, I honestly cannot recommend these press on nails enough, and I have been telling everyone to get them before they ultimately take off and sell out. I’m already planning on getting my hands on more of the colours.
Shop OPI X/PressOn Nails

OPI
X/PressOn Press On Nails in Throw Me a Kiss
OPI
X/PressOn Press On Nails in Bubble Bath
OPI
X/PressOn Press On Nails in Big Apple Red
OPI
X/PressOn Press On Nails in Malaga Wine
OPI
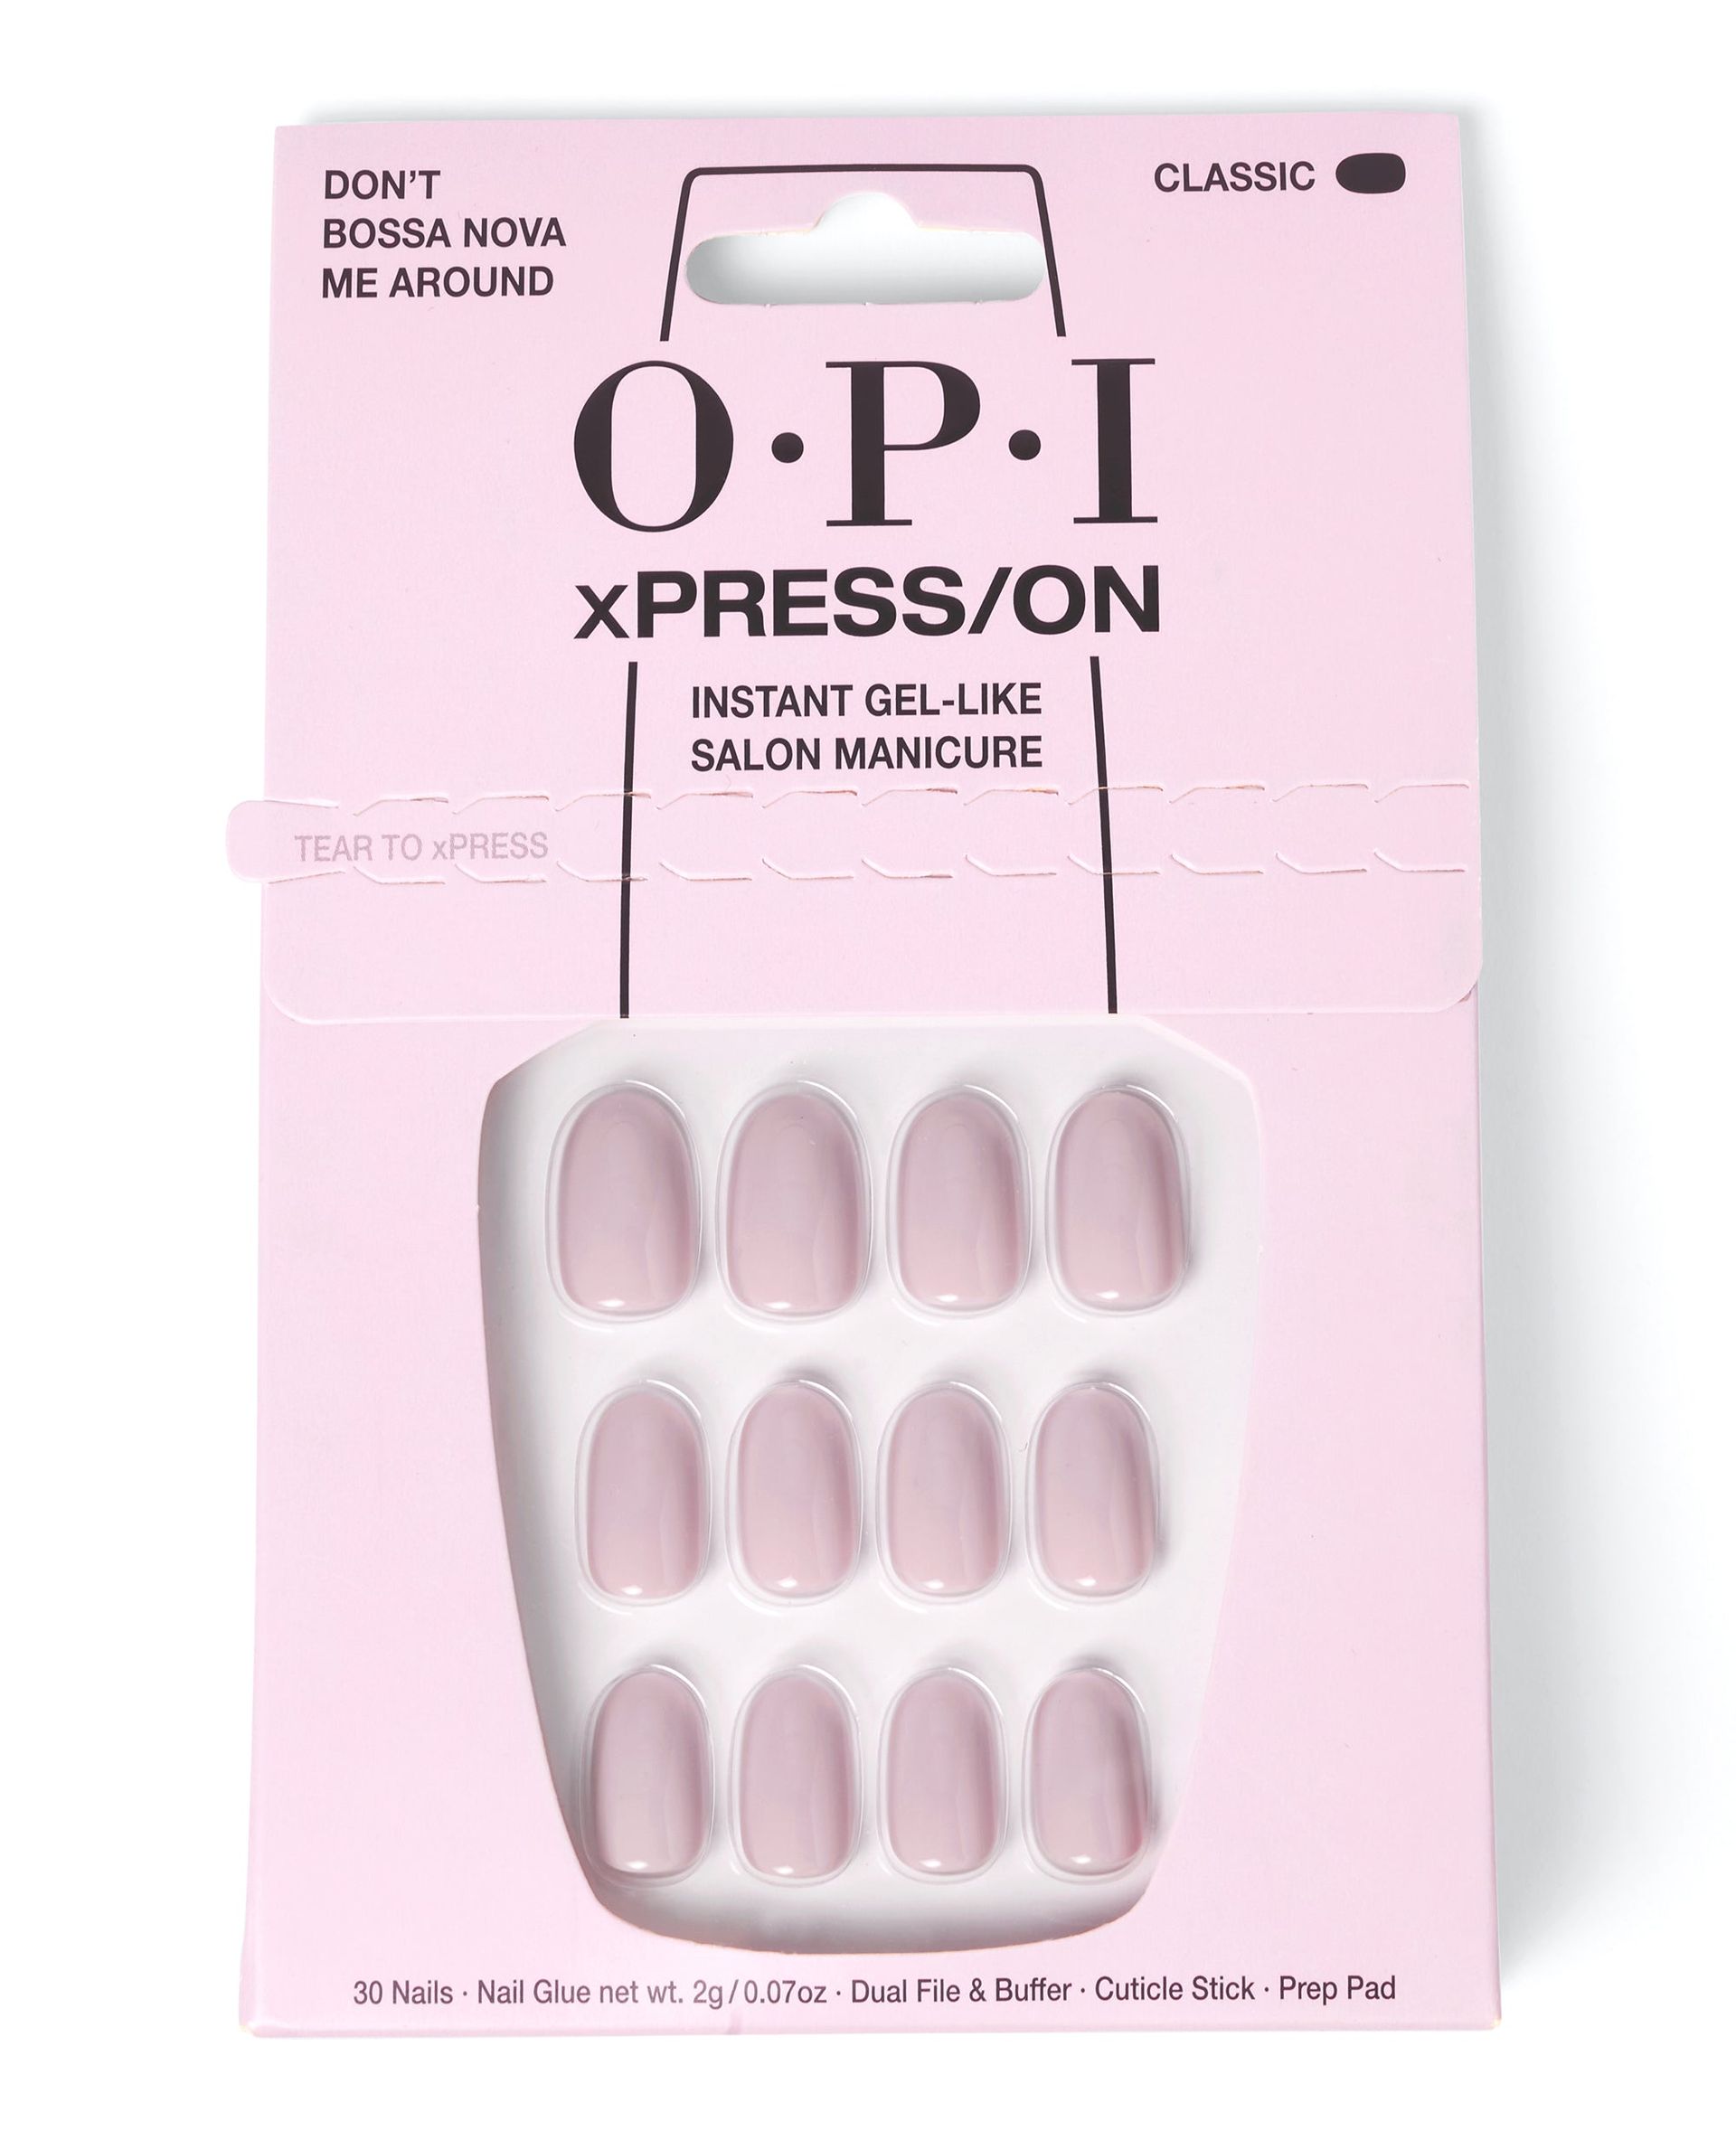
X/PressOn Press On Nails in Don’t Bossa Nova Me Around
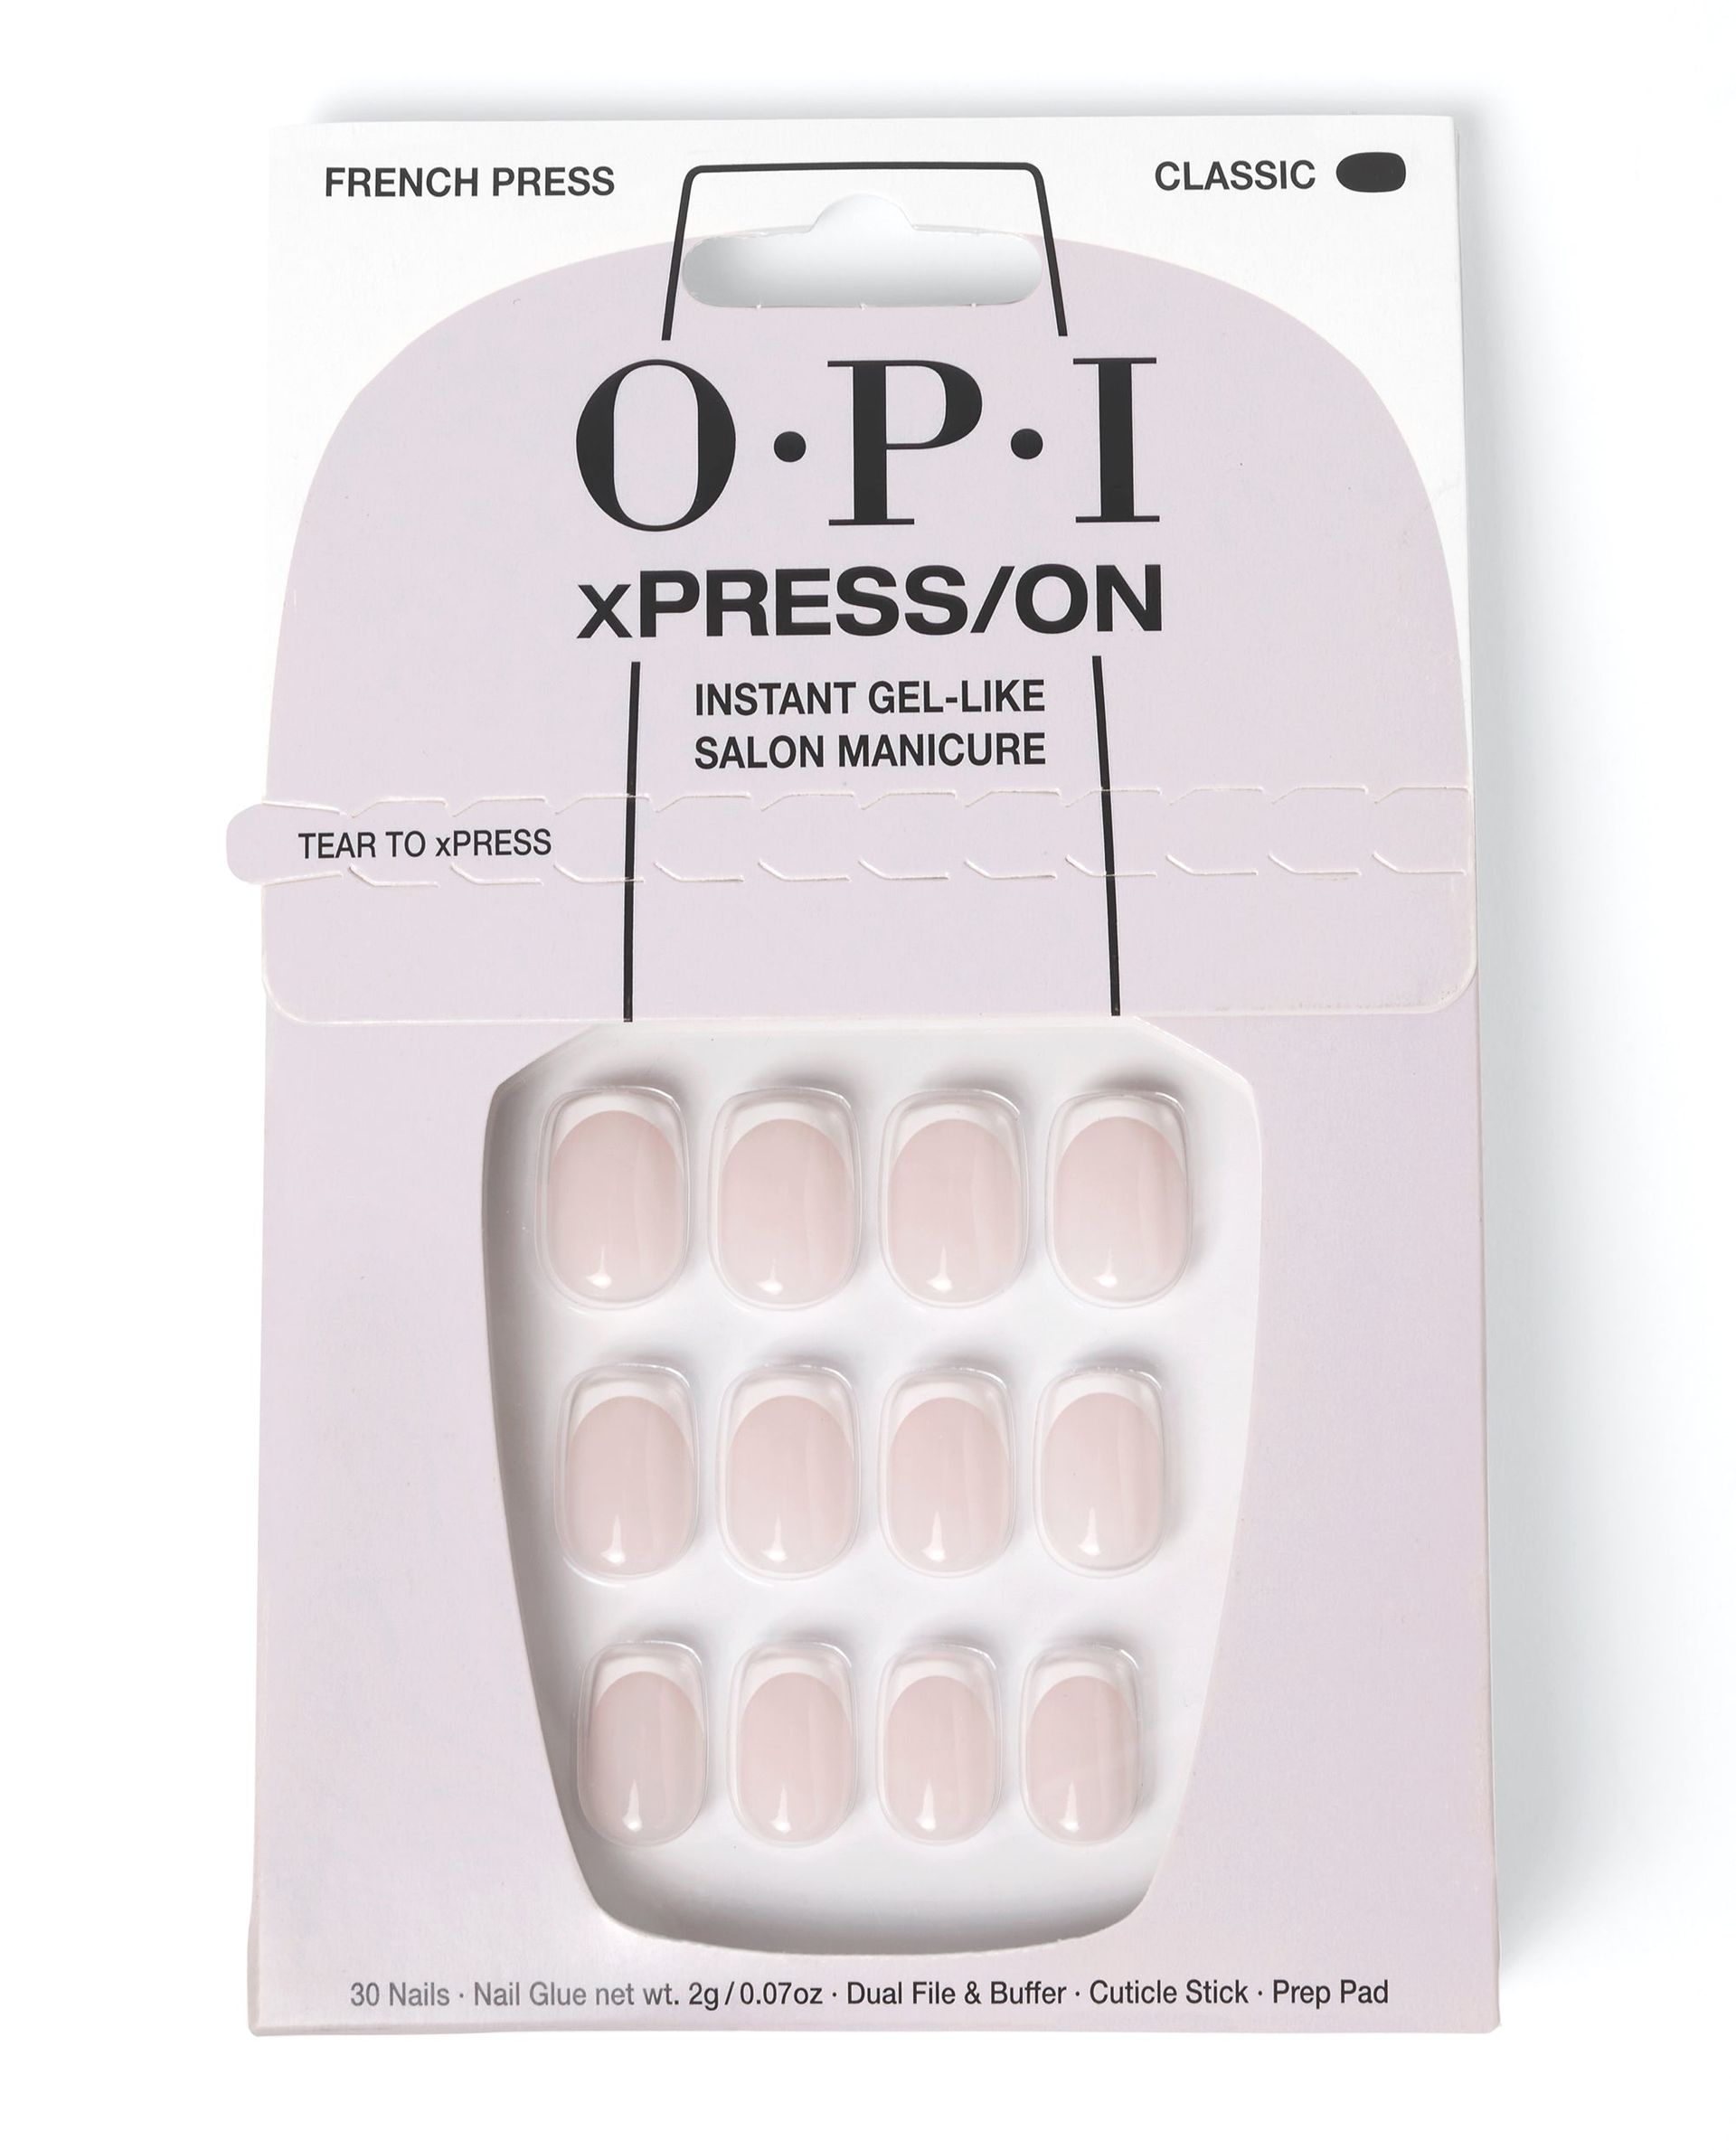
OPI
X/PressOn Press On Nails in French Press
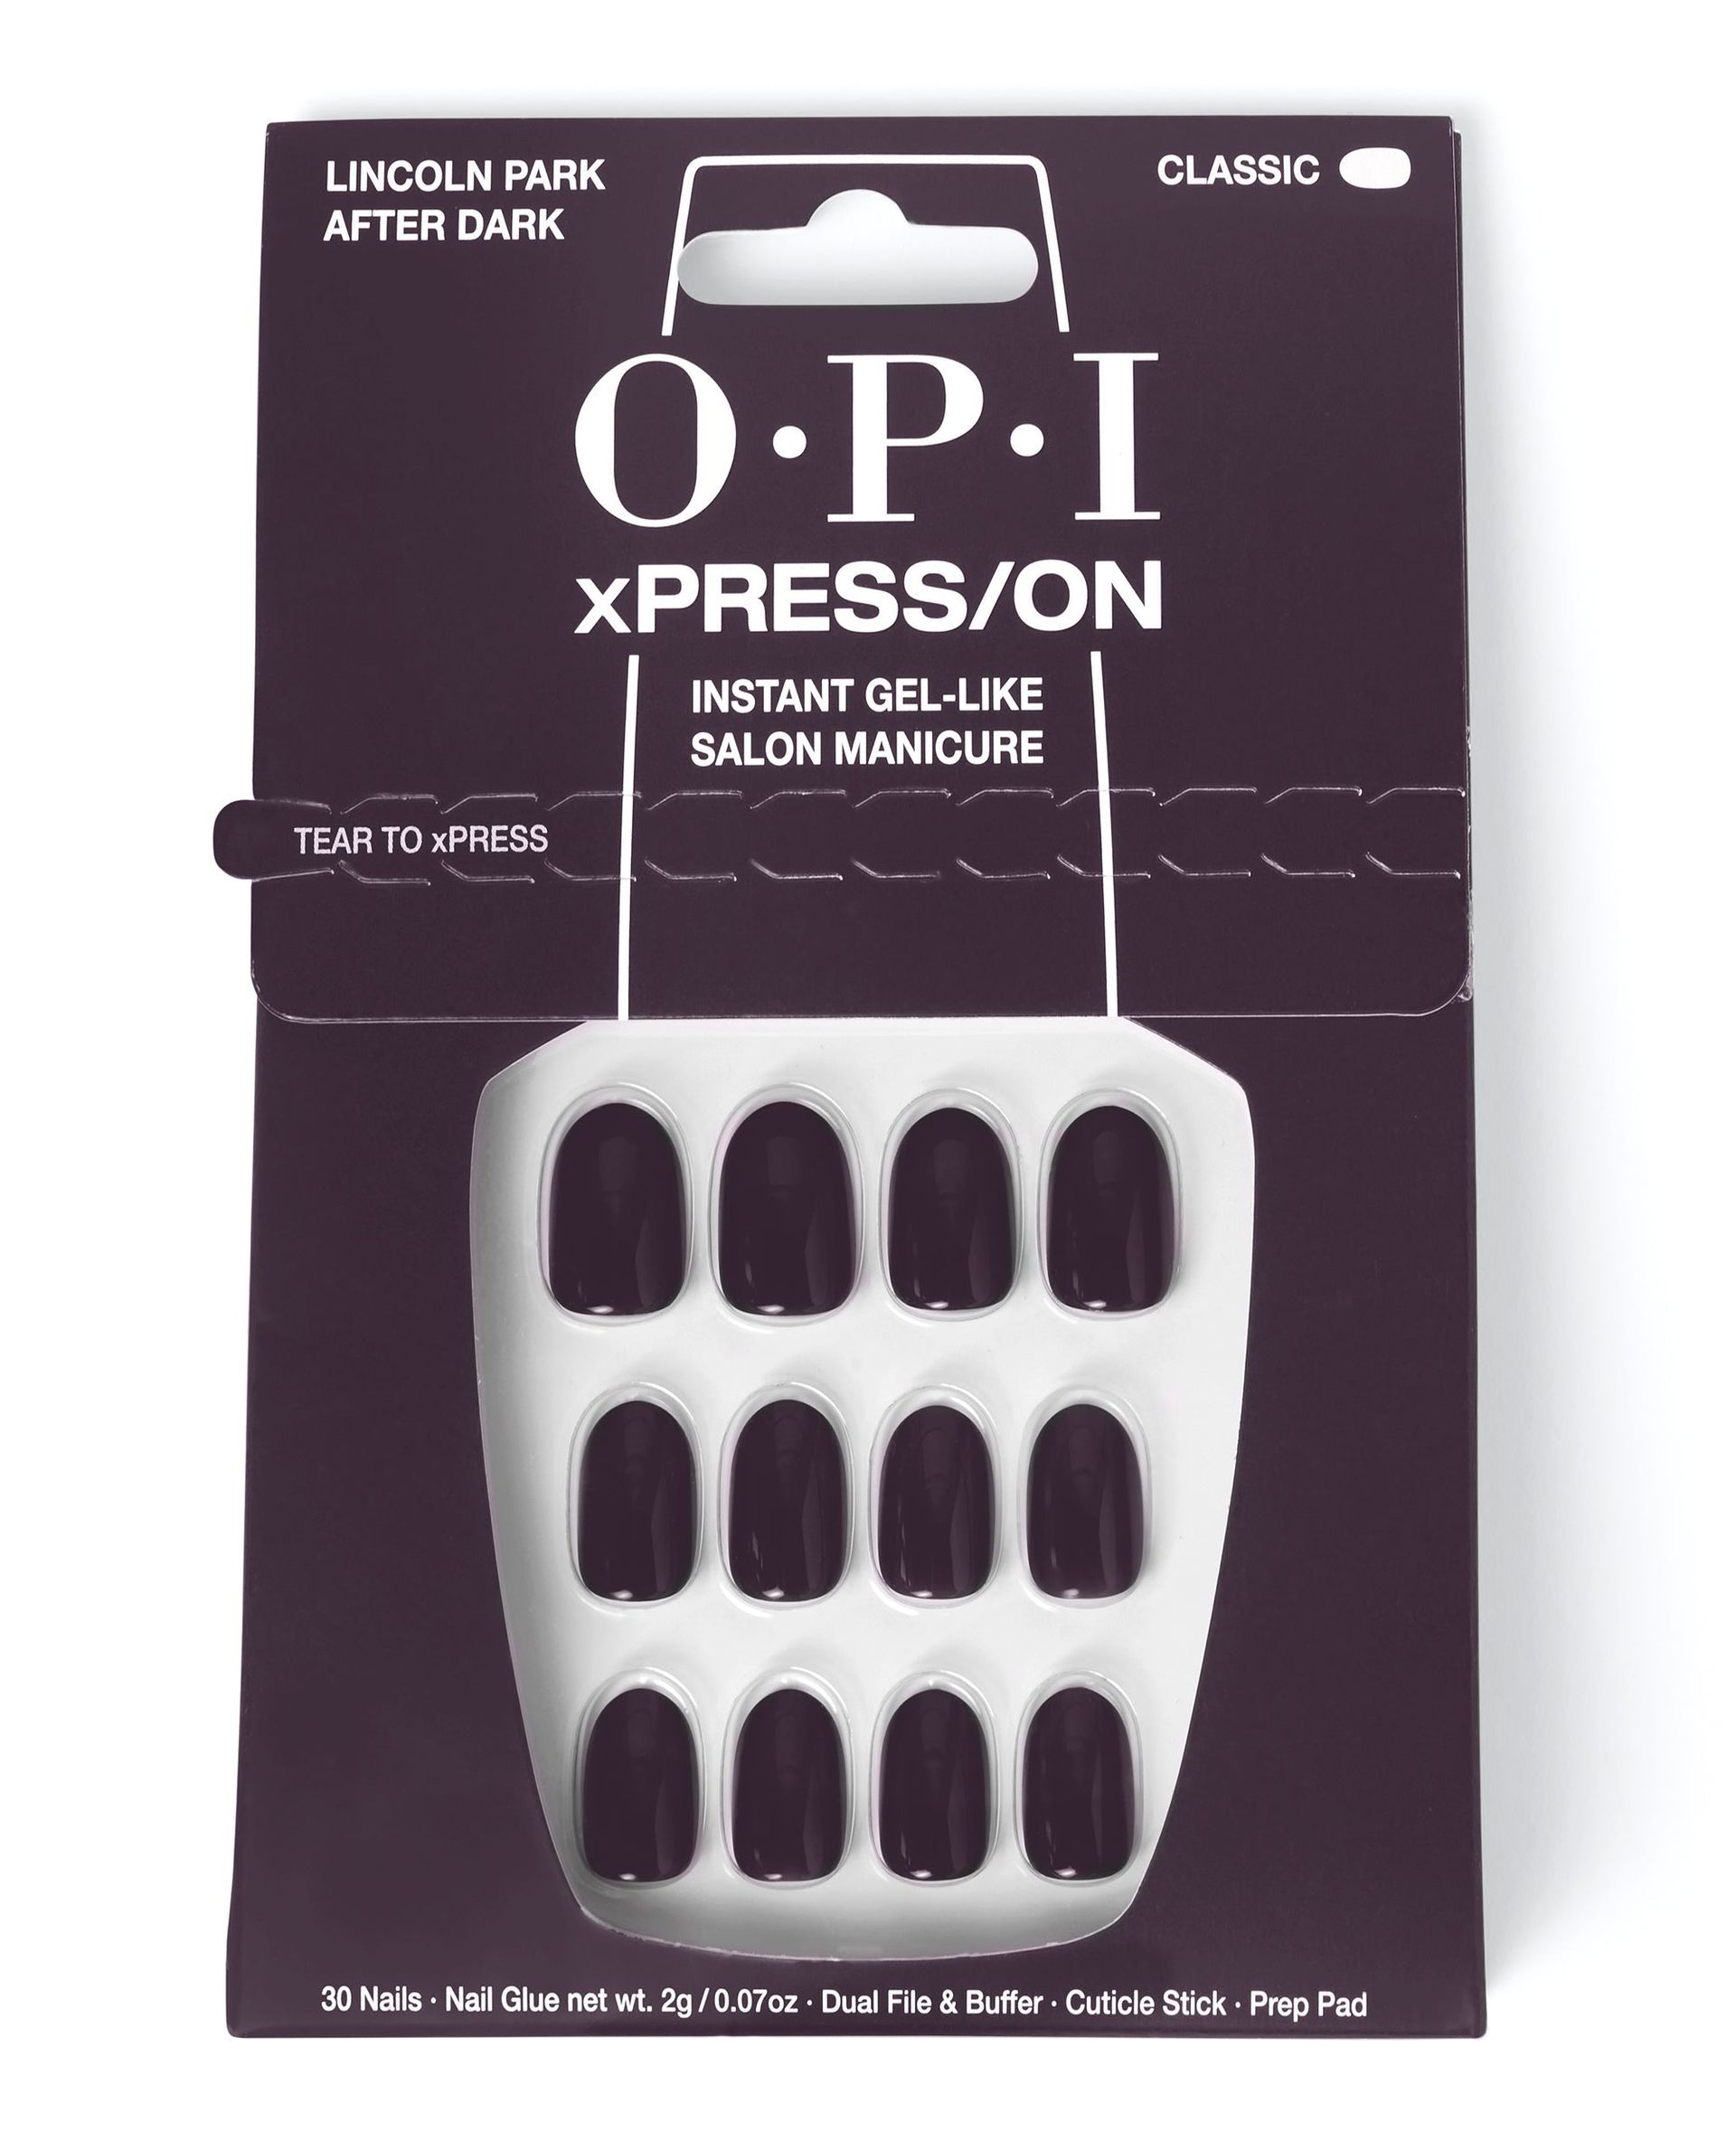
OPI
X/PressOn Press On Nails in Lincoln Park After Dark
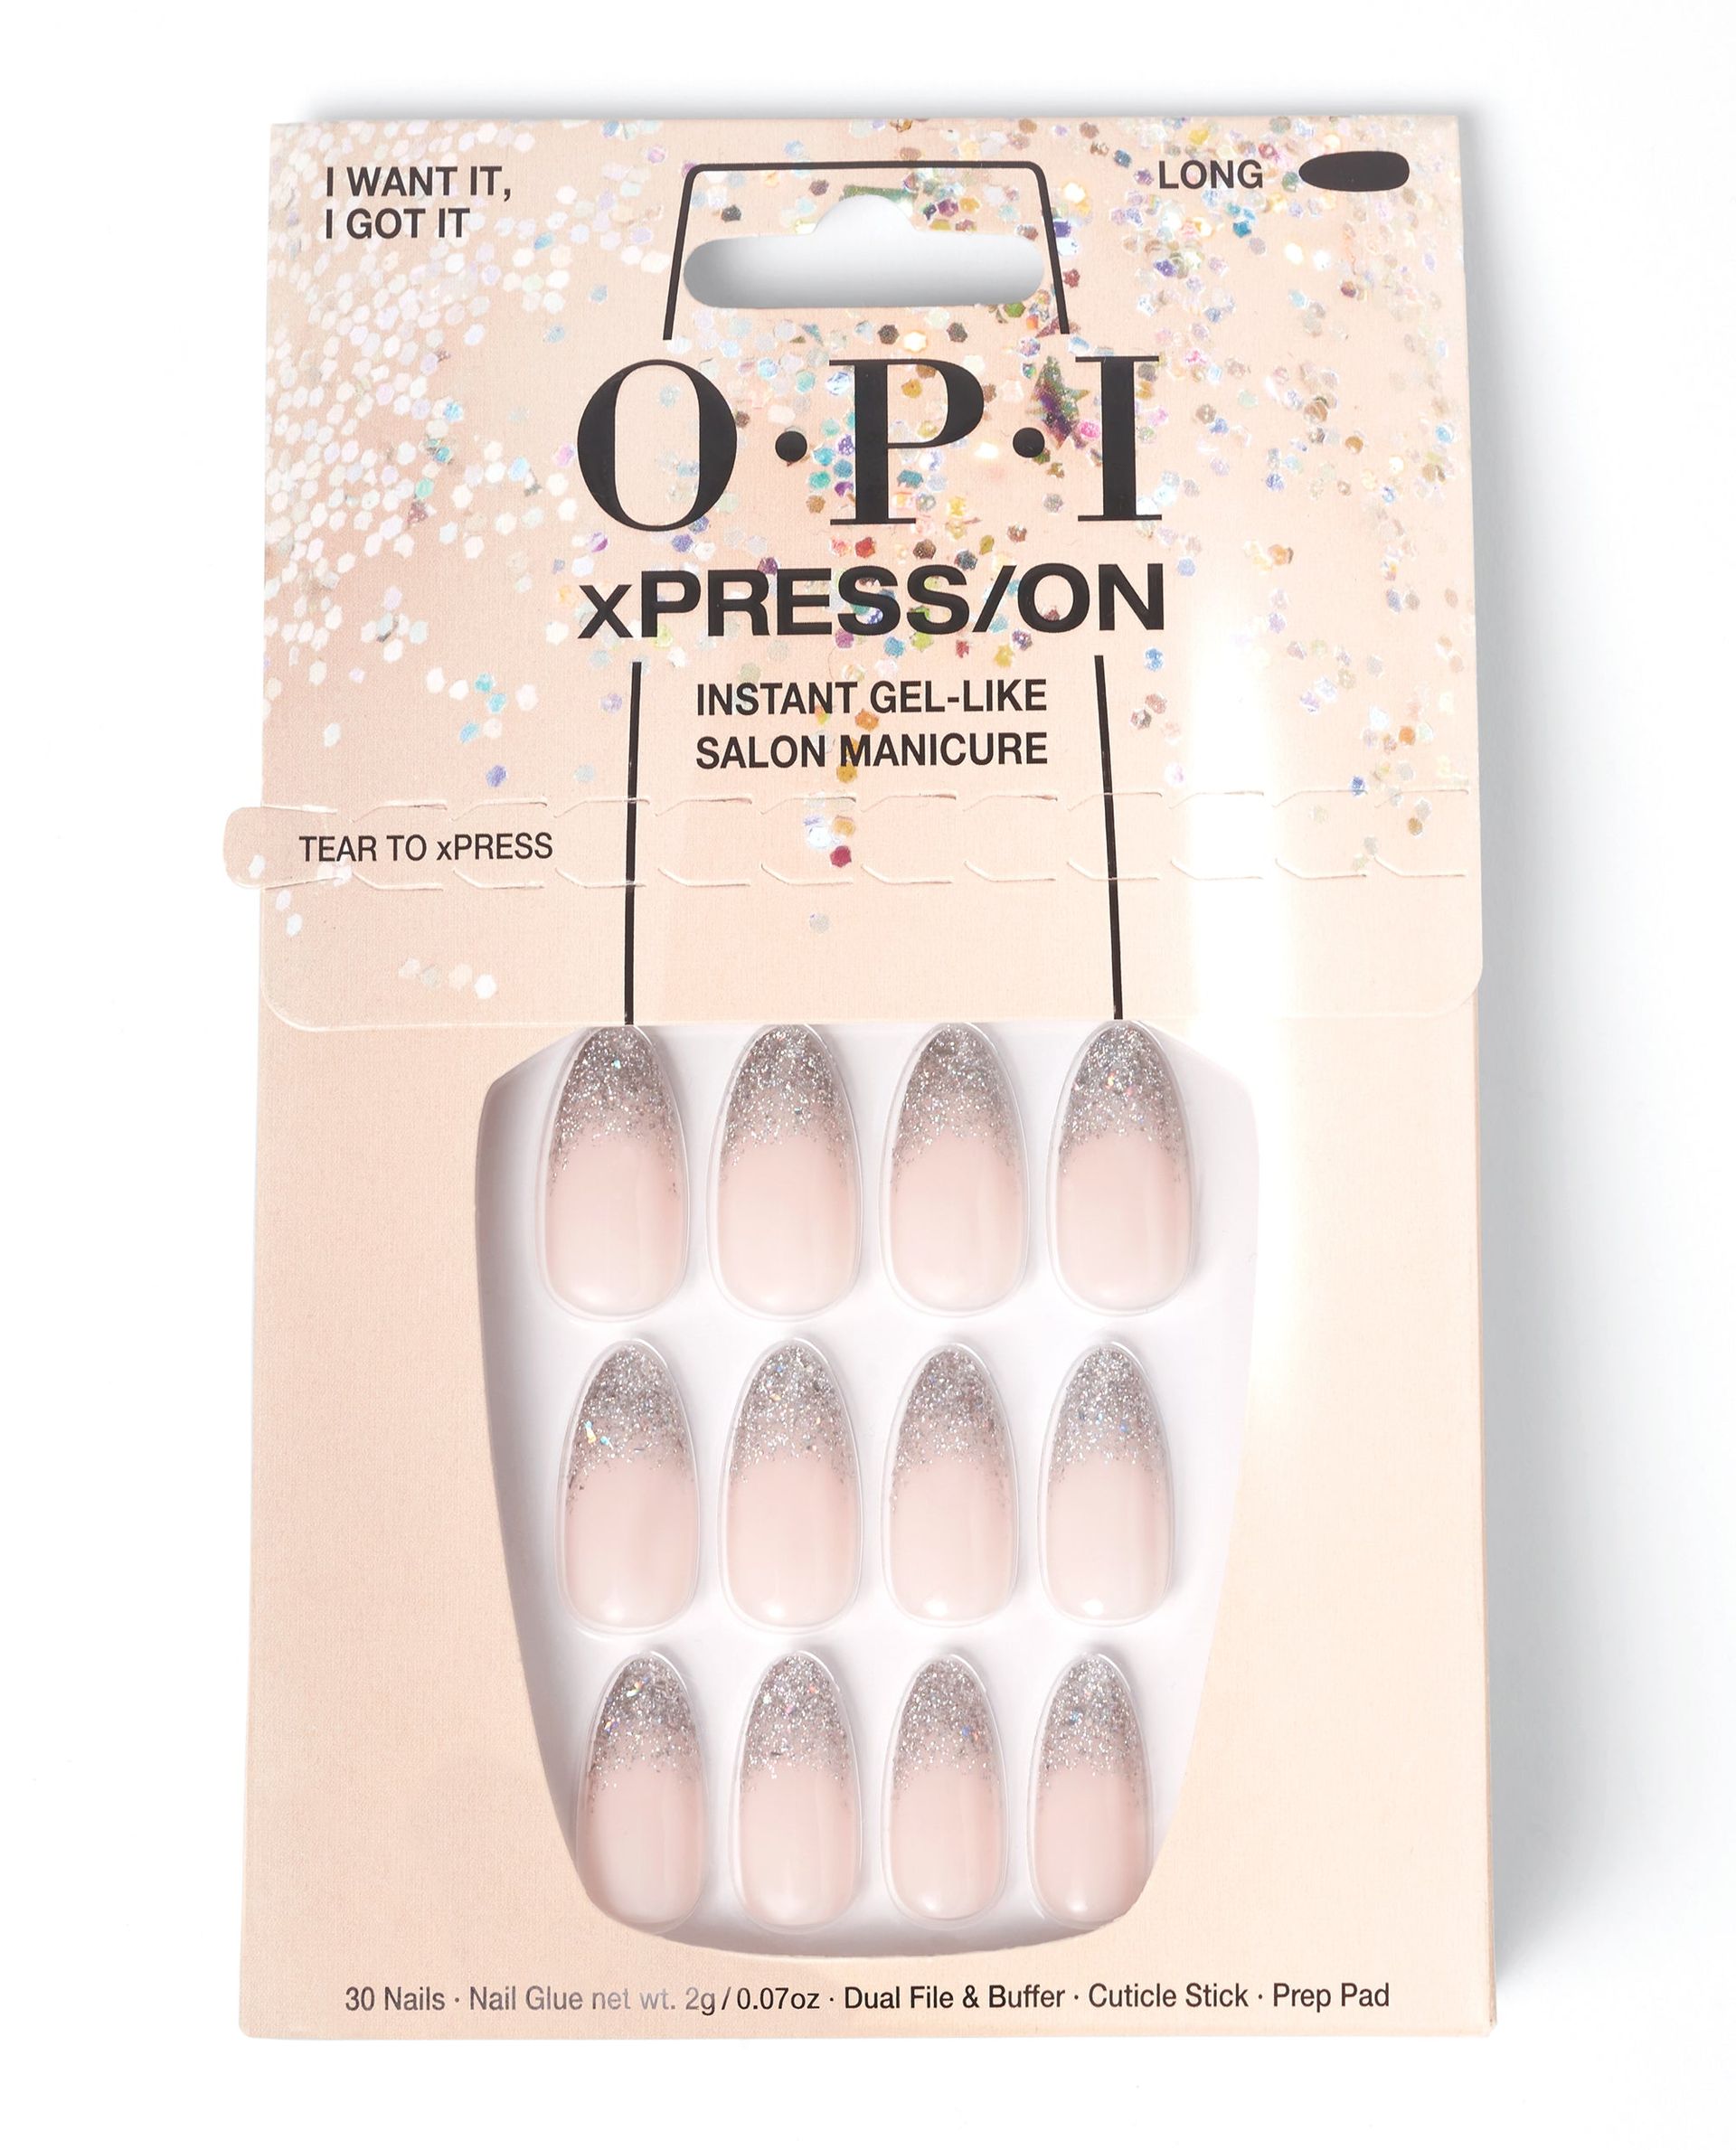
OPI
X/PressOn Press On Nails in I Want It, I Got It
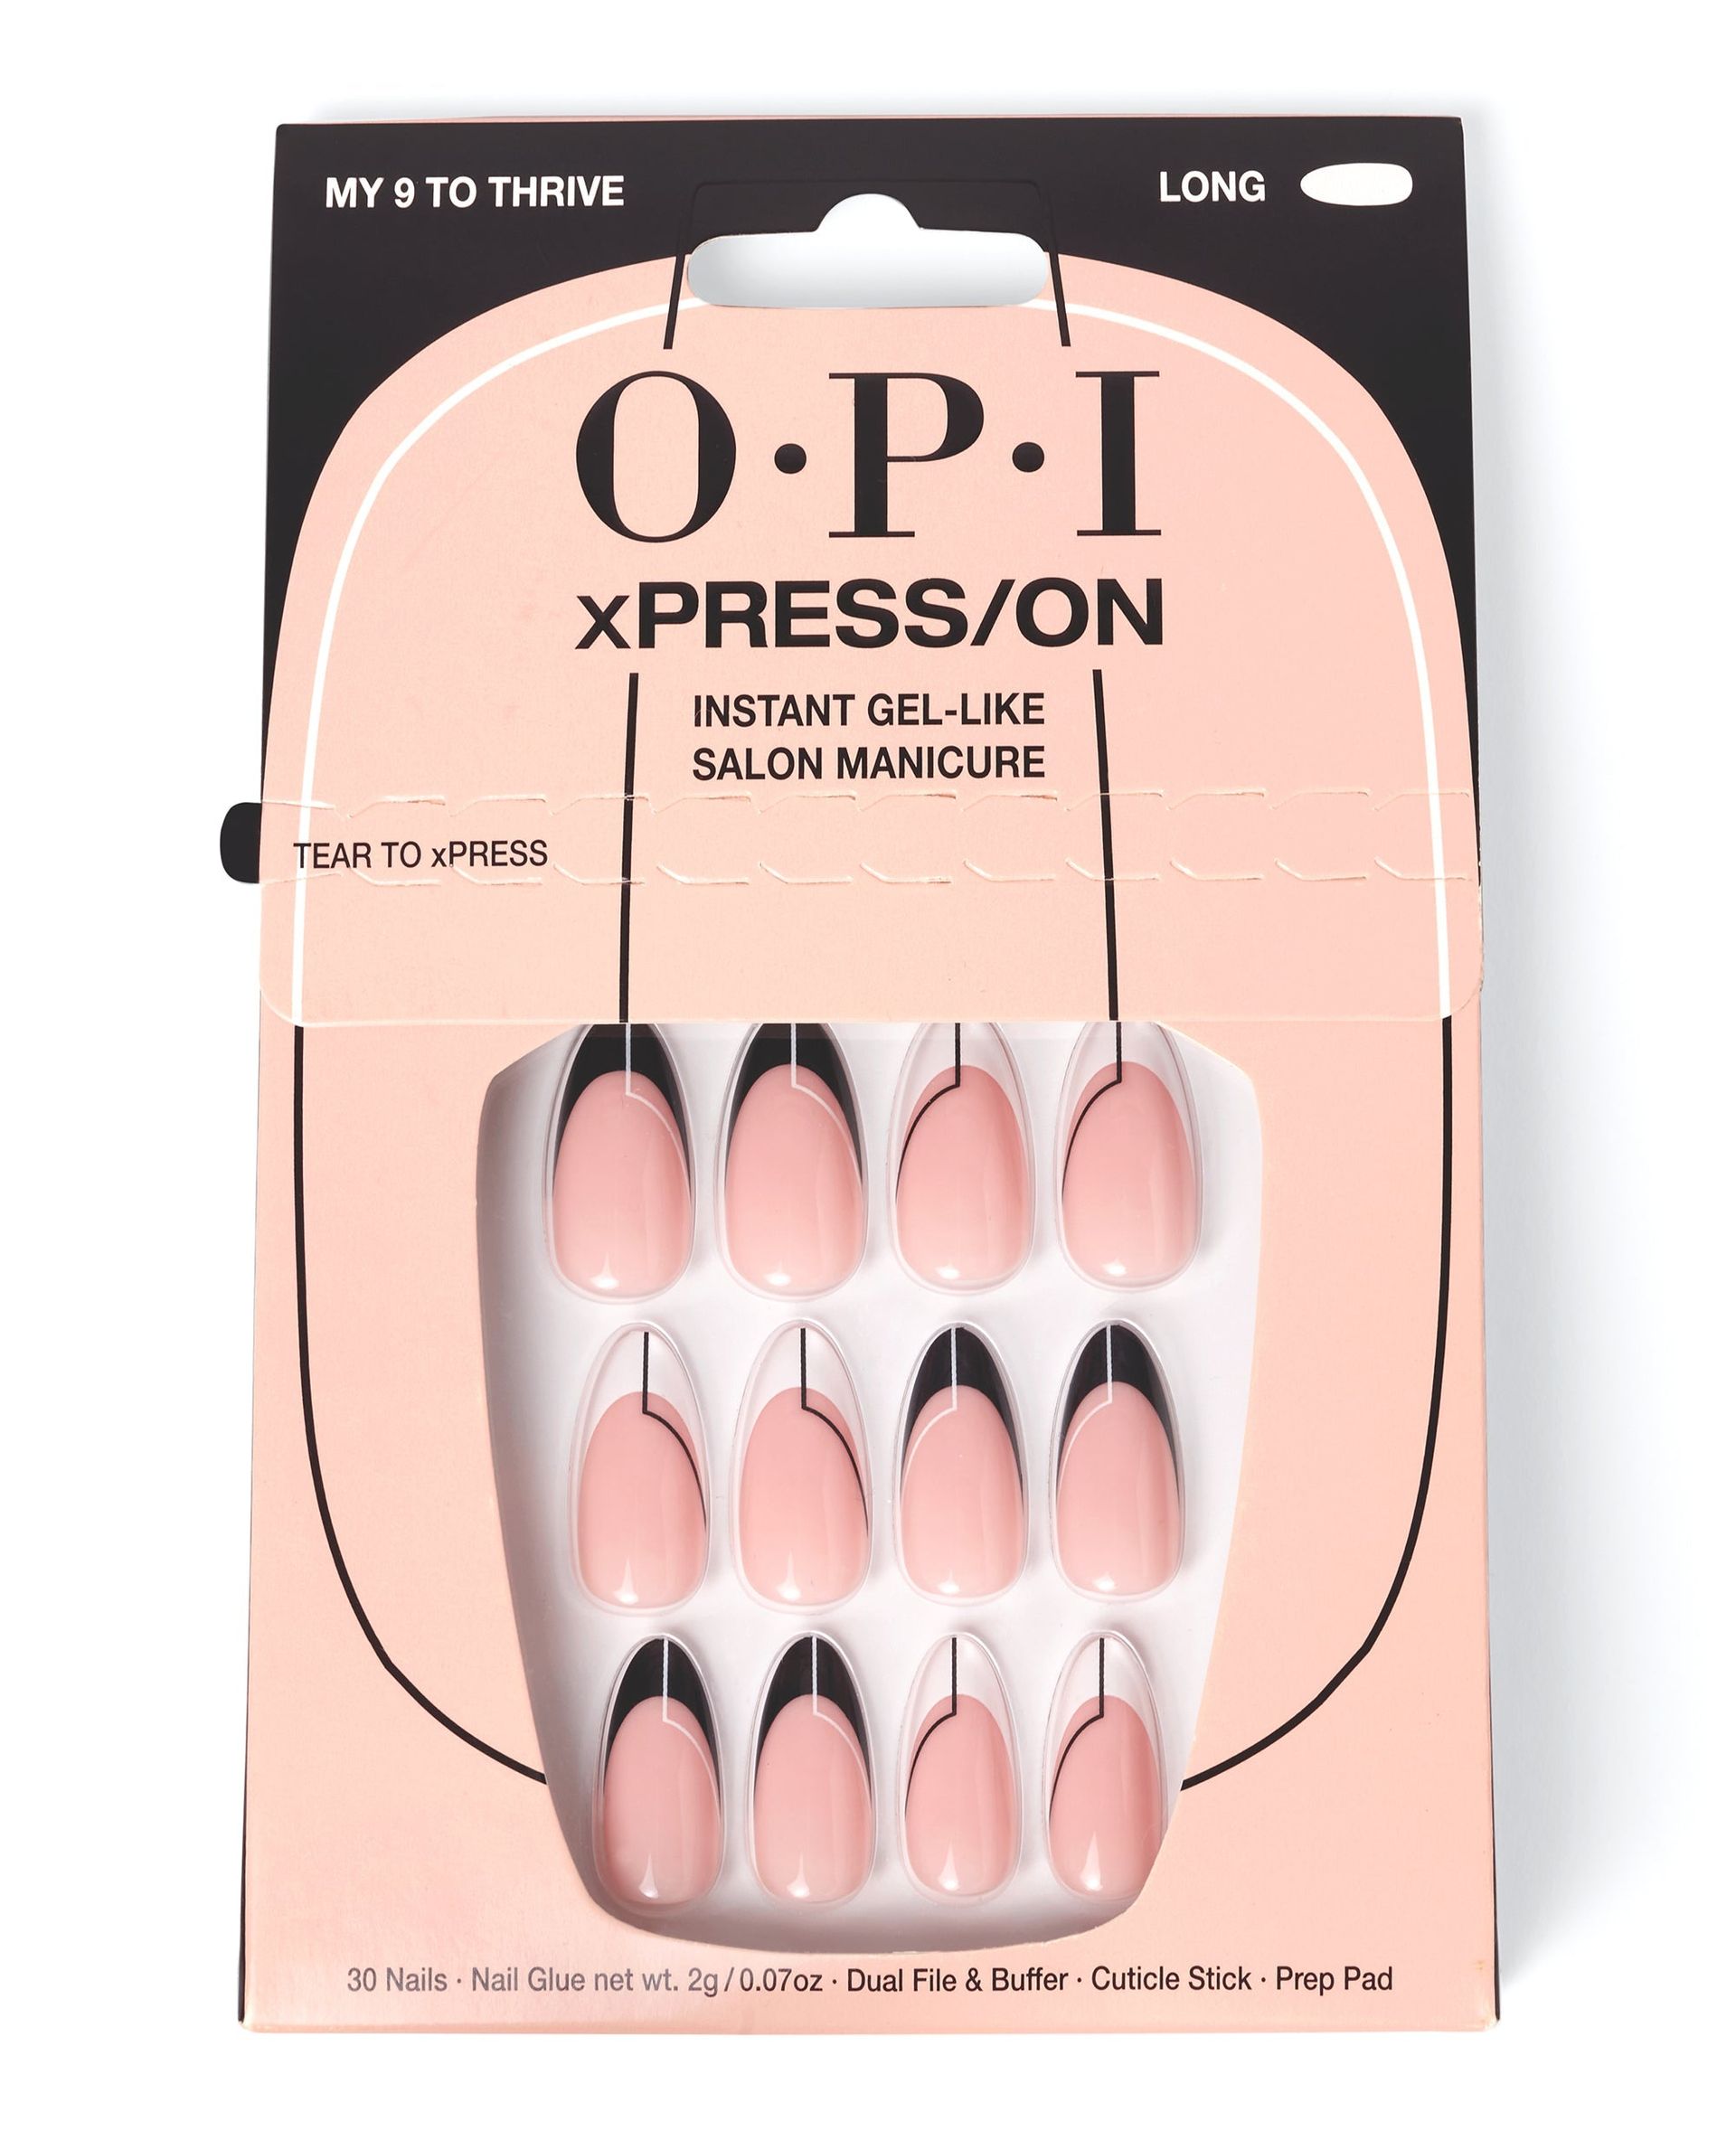
OPI
X/PressOn Press On Nails in My 9 to Thrive
OPI
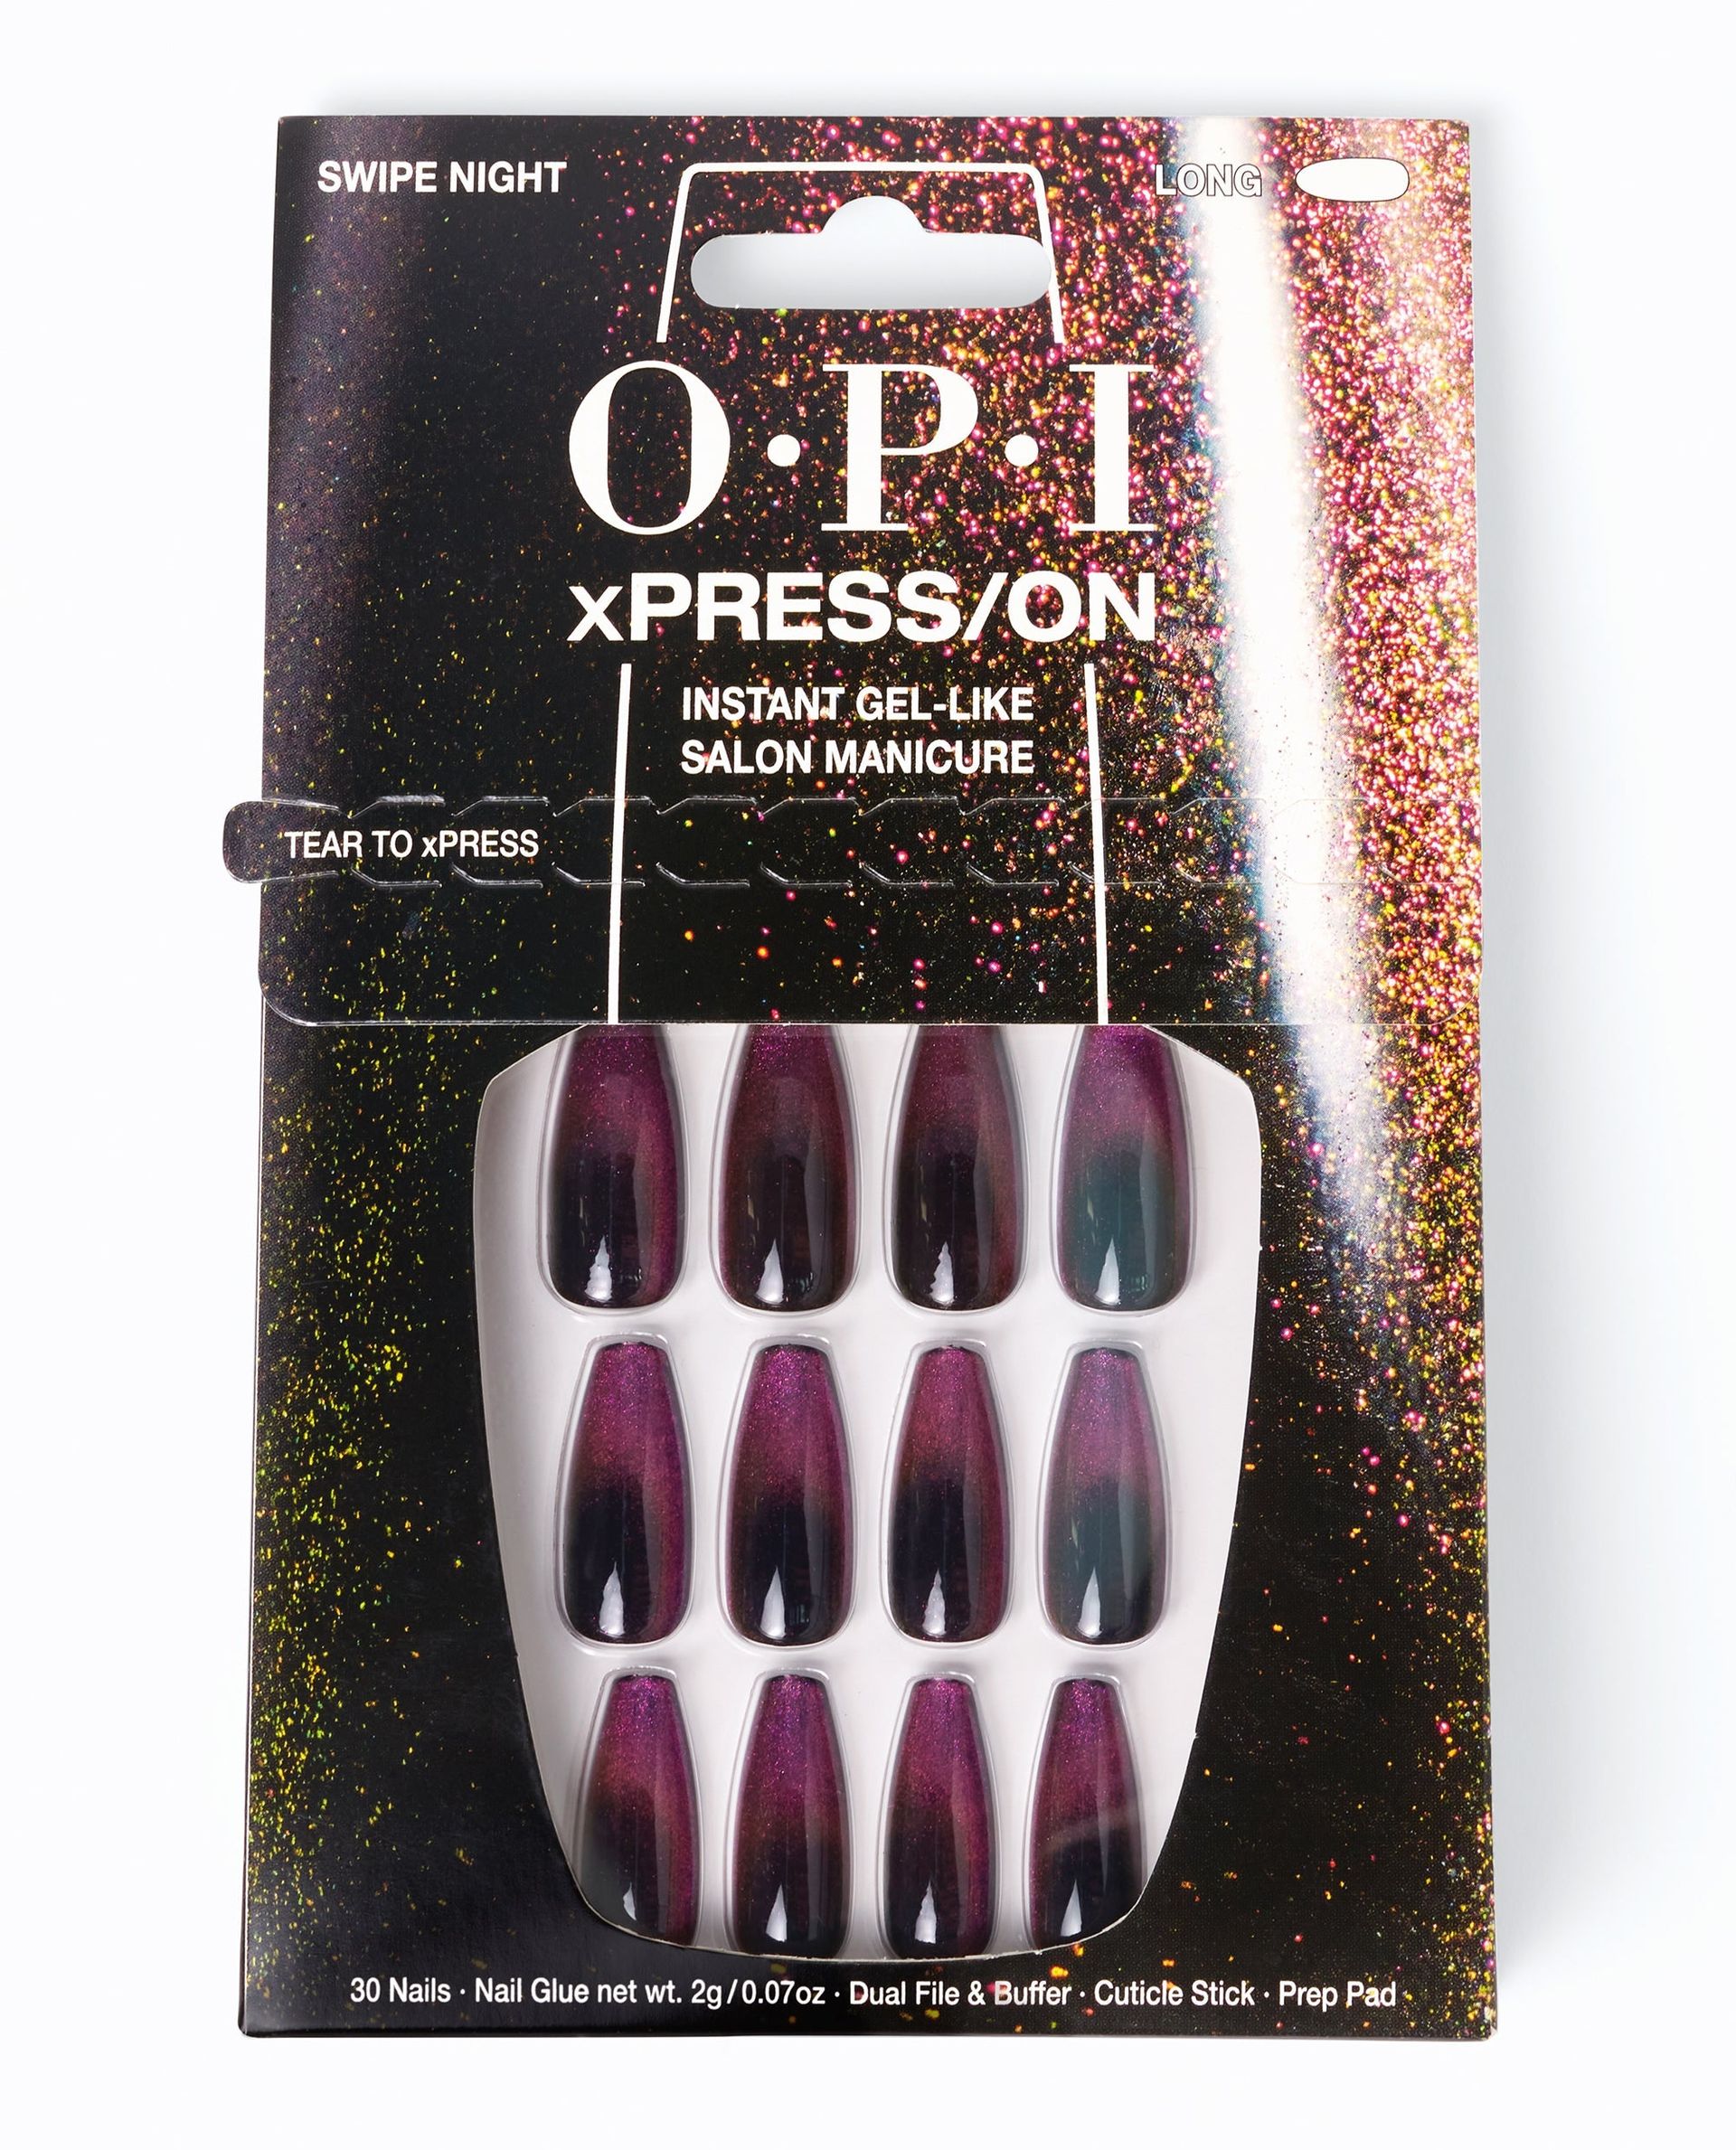
X/PressOn Press On Nails in Swipe Night








:quality(85):upscale()/2025/01/07/813/n/1922564/b63421d9677d72ddd6eff7.56786871_.png)


